Introduction
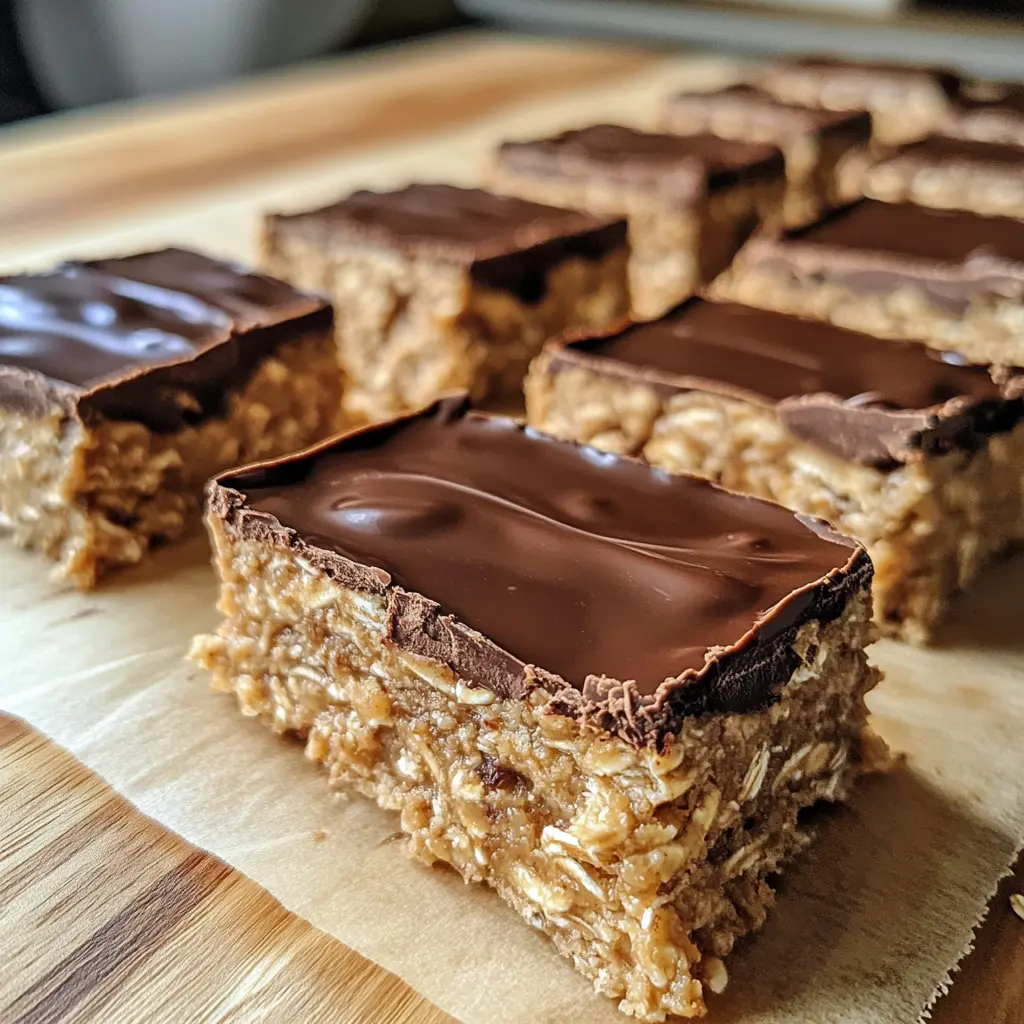
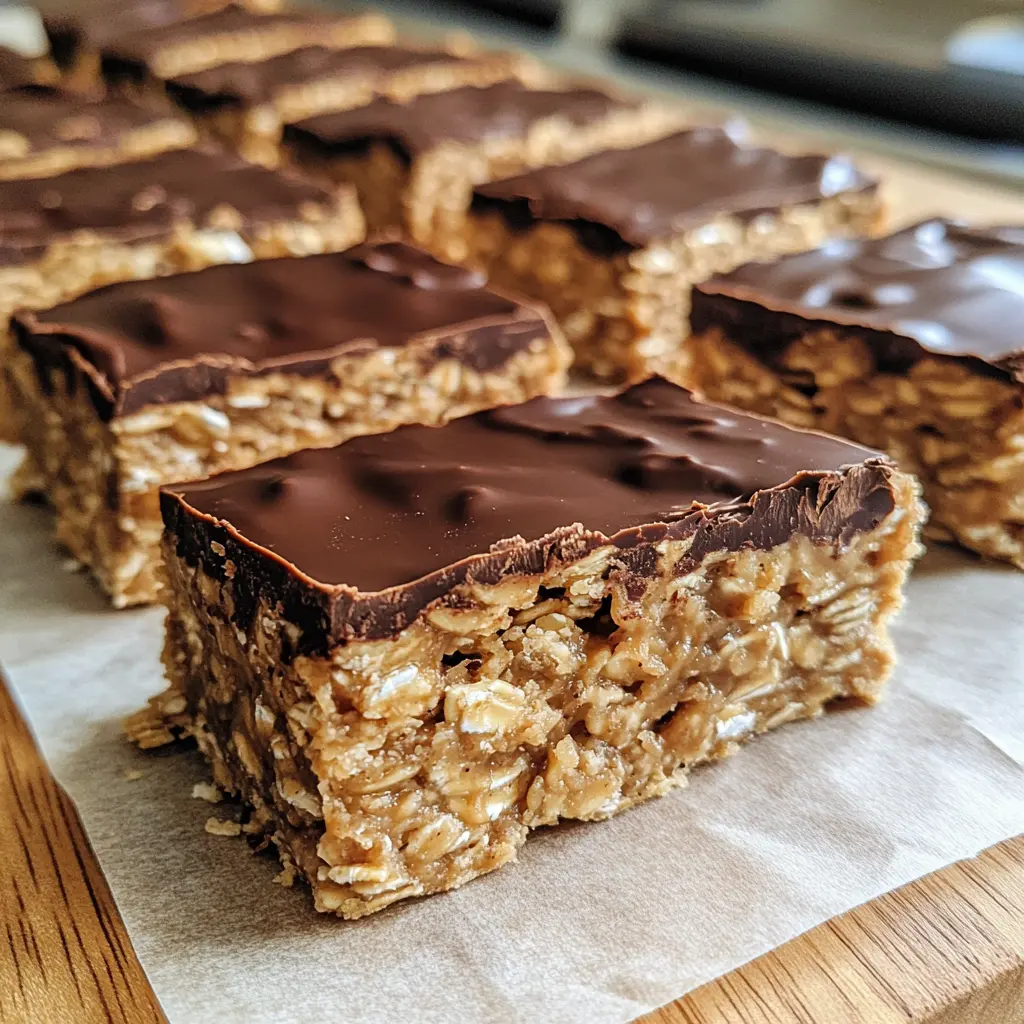
I stumbled upon this recipe on a particularly chaotic Tuesday when my sweet tooth was screaming for chocolate, but my brain was too fried to turn on the oven. What started as a desperate pantry raid turned into the most addictive healthy bars I’ve ever made. Let me show you how five simple ingredients can create something that tastes like indulgent fudge but secretly packs protein and wholesome goodness.
Why You’ll Love This Recipe
✅ Ready in 10 minutes (plus chill time) – no oven required, so you won’t heat up your kitchen
✅ Tastes like a candy bar but sneaks in 8 grams of protein per serving
✅ Kid-approved – my neighbor’s picky 4-year-old asked for thirds
✅ Perfect grab-and-go snack that won’t leave you crashing an hour later
✅ Uses pantry staples you probably already have
✅ Customizable base – swap flavors and add-ins however you want
✅ Stays fresh for a week in the fridge (if they last that long)
Ingredients Needed
- 1½ cups rolled oats
- ½ cup Greek yogurt
- ½ cup peanut butter
- ¼ cup honey or maple syrup
- ½ cup dark chocolate chips
Ingredient Notes
I recommend using thick Greek yogurt – the thicker, the better for binding. Old-fashioned rolled oats work best here; instant oats get too mushy and won’t give you that satisfying chewy texture. For peanut butter, natural varieties work perfectly, but honestly, I’ve used Jif in a pinch and they turned out great. Dark chocolate chips add richness without overwhelming sweetness, but semi-sweet chips work too if that’s what you have.
How to Make It
Step 1: Prepare Your Pan
Line an 8×8 inch pan with parchment paper, leaving some overhang for easy removal. Trust me on this – it makes lifting them out so much cleaner, and you’ll thank yourself later when you’re not scraping stuck bits off the bottom.
Step 2: Mix the Base
In a large bowl, combine oats, Greek yogurt, peanut butter, and honey. Stir vigorously until the mixture becomes thick and sticky – this takes about 2 minutes of good mixing. The consistency should hold together when you squeeze it.
Step 3: Press Into Pan
Transfer the mixture to your prepared pan and press down firmly with clean hands or a spatula. Really pack it down – loose packing means crumbly bars that fall apart when you try to eat them.
Step 4: Melt the Chocolate
In a microwave-safe bowl, melt chocolate chips in 30-second intervals, stirring between each round. Usually takes 1-2 minutes total. Don’t rush this step or you’ll end up with seized chocolate.
Step 5: Add Chocolate Layer and Chill
Spread melted chocolate evenly over the pressed oat mixture using a spatula. Place in the refrigerator for 2-3 hours until completely set. I know waiting is torture, but patience pays off with clean, beautiful slices.
Nutritional Information
Each bar contains approximately 185 calories, 8g protein, 22g carbohydrates, 9g fat, 3g fiber, and 12g sugar. These numbers make me feel good about reaching for seconds – you’re getting sustained energy from the oats, protein from the yogurt, and healthy fats from the peanut butter.

Key Ingredients Breakdown + Health Benefits
Greek Yogurt brings serious protein power to these bars while keeping them incredibly moist. I was skeptical at first about yogurt in a dessert, but it adds this subtle tanginess that balances the sweetness perfectly. Plus, the probiotics are a nice bonus for gut health.
Peanut Butter acts as both flavor star and natural binder. It provides healthy monounsaturated fats that help keep you satisfied longer. I love how it gives these bars that familiar comfort food taste while sneaking in essential nutrients like niacin and magnesium.
Rolled Oats create the perfect chewy texture while adding fiber that helps stabilize blood sugar. They’re also surprisingly filling – two of these bars actually satisfy me as a substantial snack, which rarely happens with store-bought treats.
Honey or Maple Syrup provides just enough sweetness to make these feel indulgent without going overboard. Natural sweeteners also add subtle flavor complexity that plain sugar can’t match.
Dark Chocolate Chips deliver that chocolate fix we’re all craving while providing antioxidants. The bittersweet flavor prevents these bars from being cloying, and let’s be honest – everything’s better with chocolate on top.
Why This Recipe Works
The magic happens in the balance of wet and dry ingredients. Greek yogurt and peanut butter create a creamy base that binds everything together, while honey adds just enough stickiness to help the oats hold their shape. The key is getting the right consistency in that mixing stage – too dry and they crumble, too wet and they never set properly. Chilling firms everything up and makes the chocolate layer perfectly snappy. I discovered this combination completely by accident, but now I realize it’s actually brilliant food science in action.
Is This Recipe Right for You?
These bars are perfect if you’re someone who craves dessert but wants to feel good about your choices. Busy parents love them because kids think they’re getting a treat, while adults appreciate the protein boost. They’re ideal for meal preppers, post-workout snackers, or anyone who needs a satisfying afternoon pick-me-up that won’t leave you reaching for more sugar an hour later.
Who Should Avoid It?
If you have peanut allergies, obviously skip this one. Those following strict keto diets might find the oats and honey too carb-heavy. People with dairy sensitivities should be cautious with the Greek yogurt, though dairy-free yogurt alternatives work in a pinch.
Customization Ideas
Feeling fancy? Sprinkle sea salt on the chocolate layer before it sets – the sweet-salty combo is absolutely divine. Want extra protein? Add a scoop of vanilla protein powder and increase the liquid slightly. Going nut-free? Try sunflower seed butter instead of peanut butter. Craving fruit? Fold in dried cranberries or mini chocolate chips into the base. Spice lover? A pinch of cinnamon transforms these into something cozy and warming. Coconut fan? Replace chocolate chips with toasted coconut flakes for tropical vibes.
Kitchen Tools You’ll Need
You’ll need one large mixing bowl, a sturdy spoon or spatula for mixing, an 8×8 inch pan, parchment paper, and a microwave-safe bowl for melting chocolate. A rubber spatula helps spread the chocolate layer smoothly. The most important tool is actually your hands – they’re perfect for pressing the mixture down evenly. Make sure your refrigerator has space for the pan to sit flat.
Pro Tips & Common Mistakes
Don’t skip the parchment paper – I learned this the hard way when my first batch practically welded itself to the pan. Press firmly when shaping; loose packing leads to crumbly disasters. Let chocolate cool slightly before spreading or it might melt the base layer. Chill completely before cutting – I know it’s tempting to dig in early, but warm bars fall apart. Use a sharp knife dipped in warm water between cuts for clean slices. My biggest mistake was using instant oats once – they turned mushy and weird, so stick with rolled oats.
Serving Suggestions
These bars are incredible on their own, but they’re even better paired with a cold glass of milk or your morning coffee. I love crumbling one over Greek yogurt for breakfast – it’s like having dessert for the most important meal of the day. They make fantastic lunchbox treats, post-workout fuel, or that 3 PM office snack when you need something substantial. For special occasions, serve them with fresh berries and a drizzle of extra honey for an elegant but effortless dessert.
Reader Success Stories
“Sarah here! Made these for my daughter’s soccer team snacks and they disappeared before halftime. Even the coach asked for the recipe – apparently they’re way better than the usual granola bars!”
“These saved my sanity during finals week. I batch-made them Sunday night and had perfect study fuel all week. My roommate kept stealing them though, so next time I’m doubling the recipe!” – Jessica
“My 3-year-old calls these ‘chocolate squares’ and asks for them daily. I love that I can say yes without feeling guilty. They’ve replaced his usual afternoon cookies completely.” – Mark
Storing & Freezing Guide
Store these bars in an airtight container in the refrigerator for up to one week – though honestly, they’ve never lasted that long in my house. For longer storage, wrap individual bars in plastic wrap and freeze for up to three months. They thaw perfectly at room temperature in about 20 minutes, or you can eat them straight from the freezer for a fudgy, almost ice-cream-like texture. The chocolate layer might look slightly cloudy after freezing, but the taste remains perfect.
FAQs
Can I use almond butter instead of peanut butter? Absolutely! Any nut or seed butter works beautifully. Almond butter makes them slightly less sweet, while cashew butter creates an ultra-creamy texture.
Will this work with instant oats? I don’t recommend it – instant oats break down too much and create a mushy texture. Rolled oats are really key for the proper chewy consistency.
Can I double the recipe? Yes! Use a 9×13 inch pan and increase the chill time to about 4 hours. The bars will be slightly thinner but just as delicious.
Are these safe for toddlers? They’re perfect for little ones over 2 years old. The texture is soft enough for developing teeth, and there are no choking hazards when cut into appropriate sizes.
How do I keep them from falling apart? The secret is in the mixing and pressing. Make sure the base mixture is thoroughly combined and sticky, then press very firmly into the pan before chilling completely.
Final Thoughts
These bars have become my go-to solution for so many situations – last-minute guests, school events, personal treat emergencies, and those moments when I want something sweet but also want to feel good about my choice. The best part is watching people take that first skeptical bite and then immediately ask for the recipe. There’s something magical about turning simple pantry ingredients into something that tastes this indulgent while being genuinely nourishing. Give them a try and let me know which variation becomes your favorite – I’m always excited to hear how people make them their own!

