Introduction
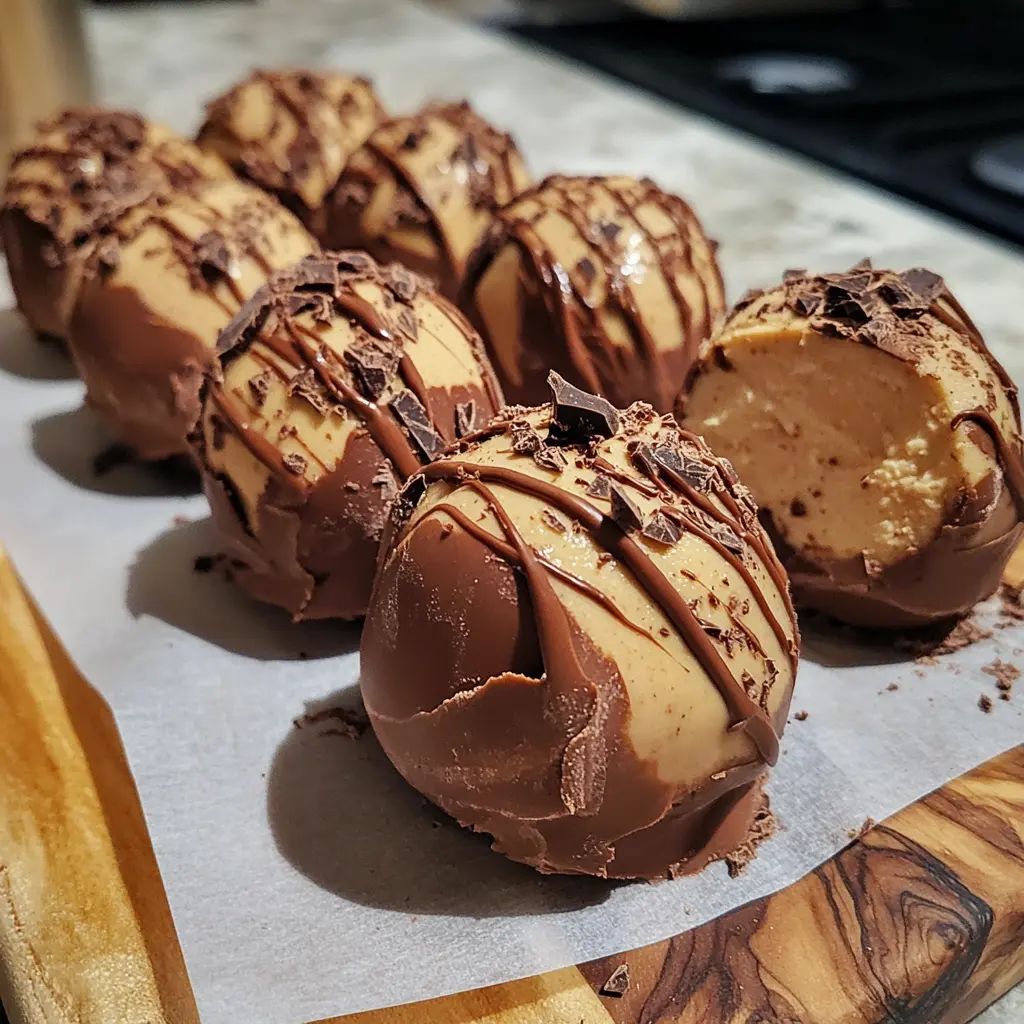
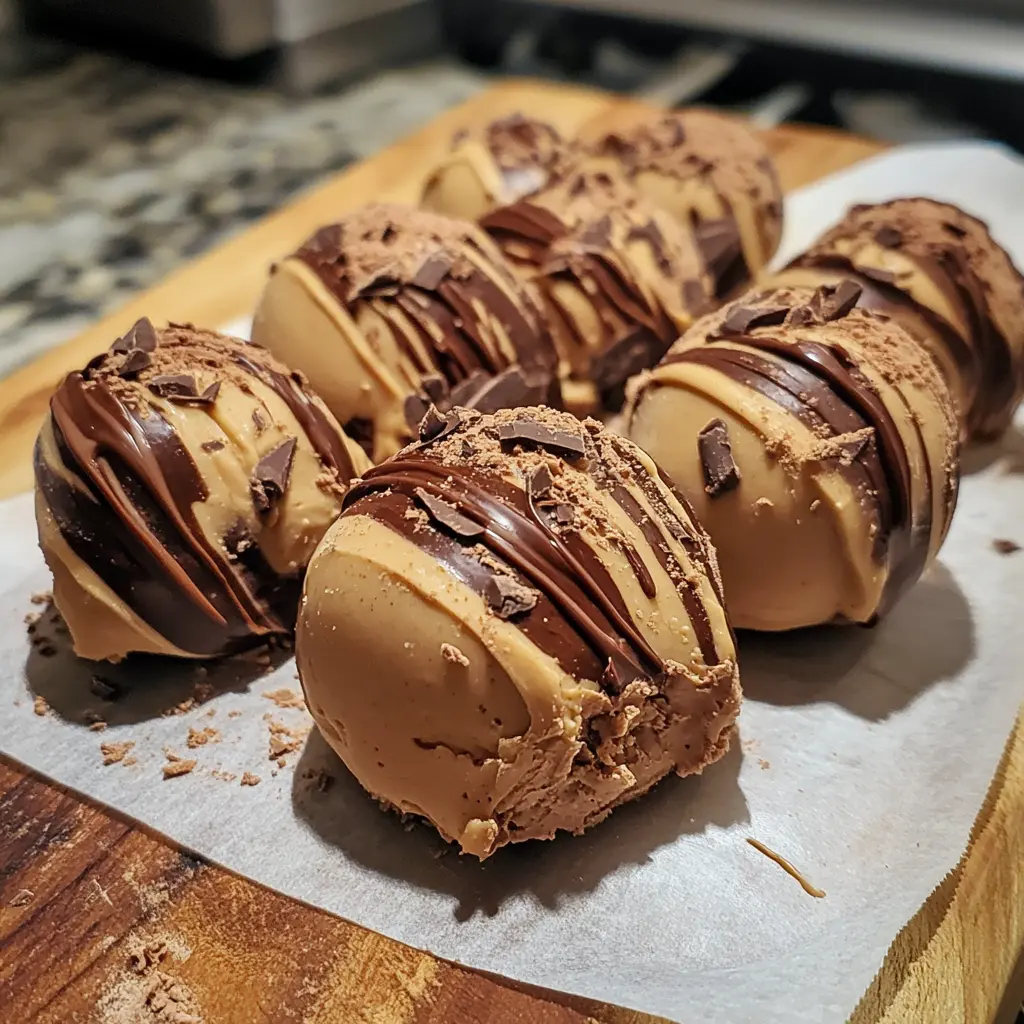
Last summer, I was desperately craving ice cream but trying to stick to healthier choices when I stumbled upon these frozen peanut butter Greek yogurt chocolate fudge bites. What started as a “let’s see what happens” experiment became my most-requested dessert among friends and family. The creamy, protein-packed result shocked everyone who tried them. Let me show you how five simple ingredients create pure frozen magic.
Why You’ll Love This Recipe
These frozen peanut butter Greek yogurt chocolate fudge bites will completely change your dessert game:
- Ice cream satisfaction without the guilt or sugar crash
- 20g protein per serving—dessert that actually fuels you
- Ready in 5 minutes of prep (freezing time doesn’t count as work!)
- Kid-approved yet sophisticated enough for dinner parties
- Naturally sweet with no refined sugar needed
- Portion-controlled—perfect bite-sized satisfaction
- Freezer-friendly for up to 3 months of instant treats
- Customizable with endless flavor variations
Trust me, that first bite will transport you straight to creamy, fudgy heaven while your body thanks you for the protein boost.
Ingredients Needed
Here’s everything you need for these incredible frozen peanut butter Greek yogurt chocolate fudge bites:
- ½ cup peanut butter
- ½ cup Greek yogurt
- 2 tablespoons cocoa powder
- 2 tablespoons honey or maple syrup
- ¼ cup dark chocolate chips
Ingredient Notes
Let’s talk specifics because ingredient quality makes all the difference here. For Greek yogurt, I always use full-fat plain Greek yogurt—it creates that luxuriously creamy texture we’re after. Low-fat versions work but won’t be quite as rich and satisfying.
Your peanut butter choice matters too. Natural peanut butter gives the cleanest flavor, but regular creamy peanut butter works beautifully if that’s what you have. Just make sure it’s well-stirred and at room temperature for easy mixing.
For cocoa powder, unsweetened is essential—we’re controlling the sweetness ourselves with honey or maple syrup. I prefer maple syrup for its complex flavor, but honey creates a slightly more traditional taste.
How to Make It
Step 1: Prepare Your Molds
Line silicone molds or mini muffin tins with paper liners. If you don’t have silicone molds, an ice cube tray works perfectly. This step prevents sticking and makes removal so much easier.
Step 2: Create the Base Mixture
In a medium bowl, whisk together Greek yogurt and peanut butter until completely smooth. This takes about 2 minutes of vigorous stirring, but the creamy result is worth every second.
Step 3: Add the Chocolate Magic
Sift in cocoa powder to avoid lumps, then drizzle in your honey or maple syrup. Mix until the color is uniform and rich—it should look like chocolate mousse at this point.
Step 4: Fill and Top
Spoon the mixture evenly into your prepared molds, filling each about ¾ full. Gently tap the molds to release air bubbles, then sprinkle chocolate chips generously on top.
Step 5: Freeze to Perfection
Freeze for at least 2 hours until completely solid. For the cleanest removal, let them sit at room temperature for 2-3 minutes before popping them out of the molds.
Nutritional Information
Each bite (assuming 12 servings) contains approximately:
- Calories: 95
- Protein: 5g
- Carbohydrates: 8g
- Fat: 6g
- Fiber: 1g
- Natural sugars: 6g
- Probiotics from Greek yogurt
These numbers make me feel amazing about enjoying dessert—it’s basically a protein snack disguised as indulgent fudge!

Key Ingredients Breakdown + Health Benefits
Greek Yogurt is the superstar here, packing probiotics for gut health plus impressive protein content. I used to think frozen yogurt treats would be icy, but Greek yogurt’s thick consistency creates an incredibly smooth, almost ice cream-like texture that surprised me completely.
Peanut Butter brings healthy fats, protein, and that irresistible nutty richness we all crave. It also provides vitamin E and niacin. What I love most is how it balances the tanginess of Greek yogurt perfectly—they’re made for each other.
Cocoa Powder delivers powerful antioxidants called flavonoids, plus that deep chocolate flavor that makes these taste like decadent fudge. It’s amazing how just 2 tablespoons can transform simple yogurt into something that feels incredibly indulgent.
Honey or Maple Syrup provides natural sweetness plus trace minerals. Unlike artificial sweeteners, these natural options complement the other flavors instead of fighting them. I’ve tried both, and each brings its own personality to the final result.
Dark Chocolate Chips add texture contrast and extra antioxidants. They also provide those little bursts of intense chocolate flavor that make each bite exciting. I always use at least 70% dark chocolate for the best taste and health benefits.
Why This Recipe Works
The magic happens in the protein-fat-sweetness balance, and honestly, I wasn’t sure this combination would work when I first tried it. Greek yogurt provides the creamy base and protein power, while peanut butter adds richness and healthy fats that prevent ice crystals from forming.
The cocoa powder absorbs excess moisture and creates that fudgy color and flavor we’re craving. Meanwhile, the honey or maple syrup provides just enough sweetness to balance the tanginess without overpowering the chocolate.
What really surprised me was the texture after freezing. Instead of becoming rock-hard like some frozen treats, these maintain a perfect bite-ability that’s satisfying but not jaw-breaking. The chocolate chips add delightful texture contrast that makes every bite interesting.
Is This Recipe Right for You?
These frozen peanut butter Greek yogurt chocolate fudge bites are perfect if you’re trying to eat healthier but refuse to give up dessert, need protein-packed snacks for post-workout fuel, or want something sweet that won’t derail your energy levels.
They’re ideal for busy parents who need treats that satisfy both kids and adults, anyone dealing with summer heat who craves something cooling and refreshing, and people who love portion control without feeling deprived. If you’re looking for make-ahead desserts that actually get better with time, this is your recipe.
Who Should Avoid It?
Be cautious if you have peanut allergies, or if you’re avoiding dairy due to lactose intolerance (though Greek yogurt is lower in lactose than regular dairy). Those following very low-carb diets should note the natural sugars from honey or maple syrup.
Customization Ideas
Want to make these your own? Here are variations I’ve tested and absolutely loved:
- Tropical paradise: Add shredded coconut and freeze-dried pineapple pieces
- Protein powerhouse: Mix in a scoop of vanilla protein powder
- Almond joy version: Use almond butter and add coconut flakes
- Mint chocolate chip: Add a few drops of peppermint extract
- Pumpkin spice: Swap peanut butter for almond butter and add pumpkin pie spice
- Berry blast: Fold in freeze-dried strawberries or blueberries
- Extra decadent: Drizzle melted dark chocolate on top before freezing
Each variation creates a completely new dessert experience while maintaining that perfect creamy-fudgy texture.
Kitchen Tools You’ll Need
You probably have everything already: silicone molds or mini muffin tin, mixing bowl, whisk or spoon, and measuring cups. Silicone molds make removal easiest, but ice cube trays work great too—just line them with plastic wrap for easier removal.
A fine-mesh sifter helps prevent cocoa powder lumps, though vigorous whisking can work in a pinch. If your peanut butter is thick, a rubber spatula helps scrape every bit from the measuring cup. Keep paper towels handy for easy cleanup.
Pro Tips & Common Mistakes
Here’s what I’ve learned from making these dozens of times:
Room temperature ingredients mix much easier—let your peanut butter and Greek yogurt sit out for 15 minutes before starting. Don’t skip the tapping step when filling molds; air bubbles create weird textures after freezing.
Underfill slightly because the mixture expands a bit when frozen, and overfilled molds are impossible to remove cleanly. I learned this the hard way when my first batch looked like chocolate explosions.
Let them soften briefly before eating—straight from the freezer, they’re harder than necessary. Store properly in airtight containers to prevent freezer burn and absorbing other flavors.
Serving Suggestions
These bites are incredibly versatile for any time of day. I love them as an afternoon pick-me-up when I need protein and satisfaction, or as a post-workout treat when my body craves both protein and a little sweetness.
They’re perfect for summer gatherings, kids’ parties, or any time you need individual desserts that won’t melt all over everything. Try serving them alongside fresh berries for a beautiful dessert platter, or pack them for picnics and beach days.
The rich, creamy texture makes them feel special enough for entertaining, while the protein content makes them practical for everyday snacking. They’re also fantastic for anyone who struggles with portion control—one or two bites truly satisfies.
Reader Success Stories
Amanda, busy mom of twins, told me: “These saved my sanity during summer break! The kids think they’re getting ice cream, but I know they’re getting protein. Win-win for everyone!”
Jake, fitness enthusiast: “Dude, these are my new post-gym obsession. Way better than protein bars and they actually taste like dessert. I make a triple batch every week.”
Maria from Texas shared: “I brought these to a potluck and three different people asked for the recipe. Nobody could believe they were actually healthy—they taste like expensive chocolate truffles!”
These stories warm my heart because that’s exactly the reaction I hoped for when I started sharing this recipe.
Storing & Freezing Guide
Store these frozen peanut butter Greek yogurt chocolate fudge bites in airtight containers in the freezer for up to three months—though they’ve never lasted that long in my house. Layer them between parchment paper to prevent sticking.
For best texture, let them sit at room temperature for 2-3 minutes before eating. They maintain their creamy consistency beautifully when frozen, unlike some homemade frozen treats that become rock-hard or icy.
If you’re meal prepping, divide them into weekly portions in separate containers. This prevents the whole batch from getting exposed to warm air every time you want a treat. Glass containers work great, but freezer-safe plastic containers are more practical for everyday use.
FAQs
Can I use regular yogurt instead of Greek yogurt? Regular yogurt has too much water content and will create icy, not creamy, results. Greek yogurt’s thickness is essential for that smooth, fudge-like texture we want.
What if I don’t have silicone molds? Ice cube trays work perfectly! Line them with plastic wrap for easier removal, or use mini muffin tins with paper liners. Even small ramekins work for larger portions.
Can I make these dairy-free? Absolutely! Use coconut yogurt or another thick plant-based yogurt. The texture will be slightly different but still delicious. Make sure your chocolate chips are dairy-free too.
How long do they need to freeze? Minimum 2 hours for firm bites, but overnight is even better. They’ll be easier to remove from molds and have the perfect texture for eating.
Why are mine icy instead of creamy? This usually means your yogurt wasn’t thick enough (use Greek yogurt), or there wasn’t enough fat content. Try full-fat Greek yogurt next time, or add an extra tablespoon of peanut butter.
Final Thoughts
These frozen peanut butter Greek yogurt chocolate fudge bites have revolutionized my relationship with frozen desserts. They prove that healthy treats don’t have to taste like health food—sometimes they taste even better than the “real” thing.
What I love most is how they satisfy both my sweet tooth and my body’s need for protein and healthy fats. It’s rare to find a dessert that makes you feel energized instead of sluggish afterward, but these magical little bites do exactly that.
Make a batch this weekend and prepare to be amazed by how something so simple can taste so incredibly indulgent. Tag me when you try them—I love seeing your creative variations and hearing about whose summer you’ve just made infinitely sweeter!

