Introduction
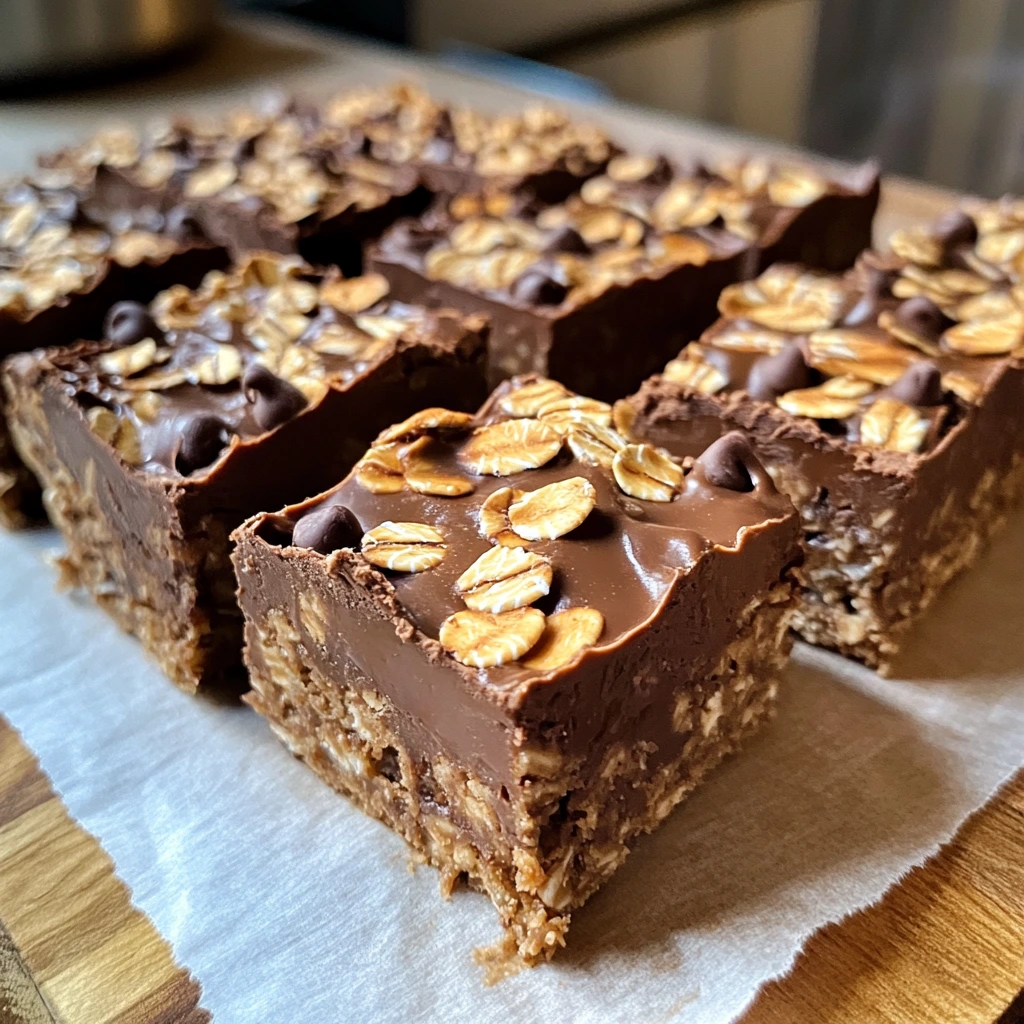
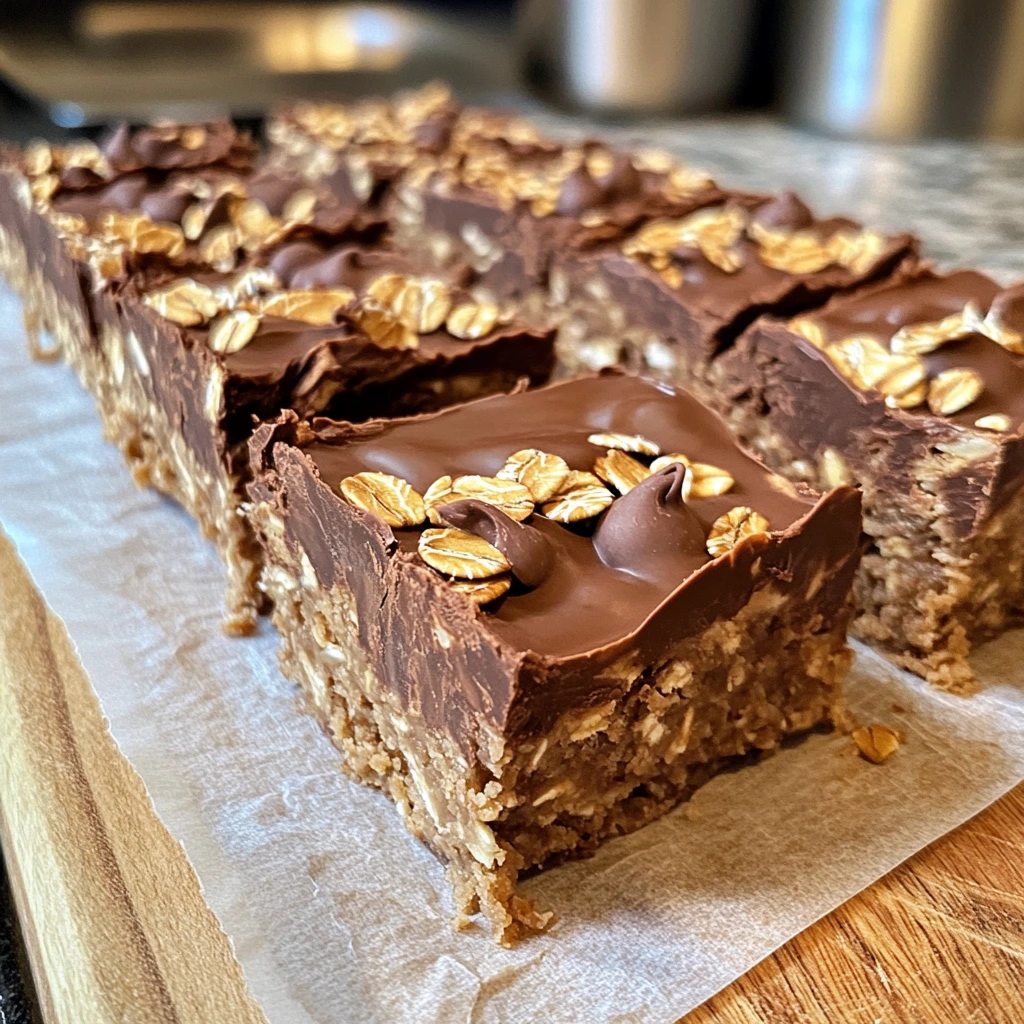
I almost didn’t share this recipe because it felt too simple to be real—but trust me, these bars are proof that the best things in life don’t require complicated techniques or fancy ingredients.
Why You’ll Love This Recipe
No Oven Required: Perfect for hot summer days when you don’t want to heat up the kitchen
Breakfast or Dessert: Healthy enough for morning fuel, indulgent enough for afternoon treats
Pantry Staples Only: Everything you need is probably already in your kitchen
Kid-Friendly: My nephew called these “chocolate candy bars” and devoured three
Meal Prep Winner: Make once, grab-and-go breakfast for the entire week
Customizable Base: Add whatever mix-ins your heart desires
Ingredients Needed
- ½ cup natural peanut butter
- ½ cup plain Greek yogurt
- 2 tablespoons honey or maple syrup
- 1 teaspoon vanilla extract
- 1 cup old-fashioned rolled oats
- 2 tablespoons unsweetened cocoa powder
- ½ teaspoon ground cinnamon (optional)
- ¼ cup mini chocolate chips
Ingredient Notes
Let’s talk peanut butter—I prefer the natural kind without added sugar, but honestly, whatever you have works. Creamy gives you that smooth, fudgy texture, while crunchy adds little bursts of nuttiness. Greek yogurt is non-negotiable here; it’s what makes these bars creamy without being too dense. For the oats, please use old-fashioned rolled oats, not instant—they hold their shape better and give you that satisfying chew.
How to Make It
Step 1: Mix the Wet Base
Whisk together peanut butter, Greek yogurt, honey, vanilla, and cocoa powder until completely smooth. Pro tip: If your peanut butter is thick, warm it slightly in the microwave for 15 seconds first.
Step 2: Add the Oats
Stir in rolled oats and cinnamon until everything is evenly coated. The mixture should look like thick, chocolatey cookie dough—if it’s too dry, add a tablespoon more yogurt.
Step 3: Fold in Chocolate Chips
Gently fold in mini chocolate chips. Don’t overmix here; you want those little pockets of chocolate throughout every bite.
Step 4: Press and Chill
Press the mixture firmly into a parchment-lined 8×8 pan. Really press down hard—this is what keeps your bars from crumbling. Chill for at least 2 hours until completely firm.
Nutritional Information
Each bar (makes 12) contains approximately:
- Calories: 145
- Protein: 6g
- Fat: 7g
- Carbs: 16g
- Fiber: 3g
- Sugar: 8g

Key Ingredients Breakdown + Health Benefits
Peanut Butter brings healthy fats and protein that’ll keep you satisfied for hours. I love how it creates that rich, nutty base that makes these bars feel like a treat rather than health food. The natural oils also help bind everything together without needing butter or oil.
Greek Yogurt is the secret ingredient that makes these bars incredibly creamy while adding a protein punch. It replaces the need for eggs or heavy cream, making the texture almost mousse-like. Plus, it adds that subtle tanginess that balances the sweetness perfectly.
Rolled Oats provide fiber and that satisfying chewiness that makes these bars actually filling. They’re like little sponges that absorb all the chocolate-peanut butter goodness while adding substance. I always keep a big container of oats on hand—they’re so versatile.
Cocoa Powder delivers that deep chocolate flavor without any added sugar or fat. It’s what transforms these from plain peanut butter oat bars into something that feels indulgent and dessert-like.
Why This Recipe Works
The magic happens in the balance of wet and dry ingredients. The peanut butter and Greek yogurt create a creamy base that coats every oat, while the cocoa powder adds richness without weighing things down. The honey provides just enough sweetness to satisfy your sweet tooth without making these overly sugary.
The chilling process is crucial—it allows all the flavors to meld together while the mixture firms up into sliceable bars. Without proper chilling, you’d have a delicious but messy oat mixture that falls apart. The chocolate chips add little bursts of sweetness and texture that make each bite interesting.
Is This Recipe Right for You?
These bars are perfect for anyone who wants a healthier breakfast option that doesn’t taste like cardboard. If you’re someone who’s always rushing out the door in the morning, meal preppers, or parents looking for a snack that won’t send kids bouncing off the walls, this is your recipe.
Who Should Avoid It?
Anyone with peanut allergies should skip this one, though you can substitute with almond butter or sunflower seed butter. If you’re avoiding dairy, use coconut yogurt instead of Greek yogurt.
Customization Ideas
- Nut Butter Swaps: Try almond butter, cashew butter, or sunflower seed butter for different flavors
- Mix-In Madness: Add dried cranberries, chopped nuts, coconut flakes, or chia seeds
- Spice It Up: Try a pinch of espresso powder, cardamom, or nutmeg
- Protein Boost: Add a scoop of your favorite protein powder (reduce liquid slightly)
- Fruit Twist: Fold in freeze-dried strawberries or mini dried blueberries
Kitchen Tools You’ll Need
You don’t need anything fancy for these bars—just a mixing bowl, a whisk or wooden spoon, and an 8×8 inch pan. I line mine with parchment paper for easy removal, but you could also grease it lightly. A rubber spatula helps with folding in the chocolate chips without crushing them.
Pro Tips & Common Mistakes
Press firmly: This is where most people mess up. You need to really compress that mixture into the pan, or your bars will crumble when you try to cut them. I use the bottom of a measuring cup to press everything down evenly.
Don’t skip the chill time: I know two hours feels like forever when you’re craving these bars, but trust the process. Under-chilled bars are impossible to cut cleanly and will fall apart in your hands.
Room temperature ingredients: If your peanut butter is cold and thick, it won’t mix well with the other ingredients. Let it sit at room temperature for 30 minutes or warm it slightly in the microwave.
Proper storage: Keep these in an airtight container in the fridge. They’ll get soft at room temperature and lose that perfect firm texture.
Serving Suggestions
I love these straight from the fridge with a cold glass of milk for breakfast. They’re also fantastic crumbled over Greek yogurt with berries for a parfait-style snack. For an extra indulgent treat, drizzle them with a little melted dark chocolate or dust with powdered sugar.
Pack them in lunch boxes, bring them to potlucks, or keep them on hand for that 3 PM energy slump. They’re substantial enough to be a light breakfast but sweet enough to satisfy dessert cravings.
Reader Success Stories
Sarah from Denver wrote: “I made these for my daughter’s soccer team, and they disappeared in minutes! Even the pickiest eaters loved them, and I felt good knowing they were getting protein and fiber instead of just sugar.”
Mike shared: “As someone who’s not great in the kitchen, I was amazed at how simple these were. I added some chopped almonds and they turned out perfect. My wife keeps asking me to make them again!”
Jenny mentioned: “I’ve been making these every Sunday for meal prep. They keep beautifully in the fridge and give me something to look forward to at breakfast. I’ve tried the recipe with cashew butter too—equally delicious!”
Storing & Freezing Guide
Store these bars in an airtight container in the refrigerator for up to one week. They actually taste better after the first day when all the flavors have had time to develop. For longer storage, wrap individual bars in parchment paper and freeze for up to three months.
To thaw, simply move them to the refrigerator overnight. They’ll be perfect by morning. You can also eat them straight from the freezer if you like a firmer, almost ice cream bar-like texture.
FAQs
Can I make these without chocolate chips? Absolutely! They’re still delicious without them, or you can substitute with chopped nuts, dried fruit, or coconut flakes.
Why are my bars too crumbly? This usually means the mixture was too dry or you didn’t press them firmly enough. Try adding an extra tablespoon of yogurt and really compress the mixture in the pan.
Can I double the recipe? Yes! Use a 9×13 inch pan instead of 8×8. The bars will be thinner but still delicious.
What if I don’t have Greek yogurt? Regular yogurt works but drain it first, or use mashed banana for a different flavor profile.
Final Thoughts
These bars have become my go-to recipe when I need something quick, healthy, and satisfying. They’re proof that you don’t need complicated techniques or expensive ingredients to create something truly delicious. The best part? Watching people’s faces light up when they realize these “healthy” bars actually taste amazing.
Give them a try and let me know what mix-ins you experiment with—I’m always looking for new flavor combinations to try!

