Introduction
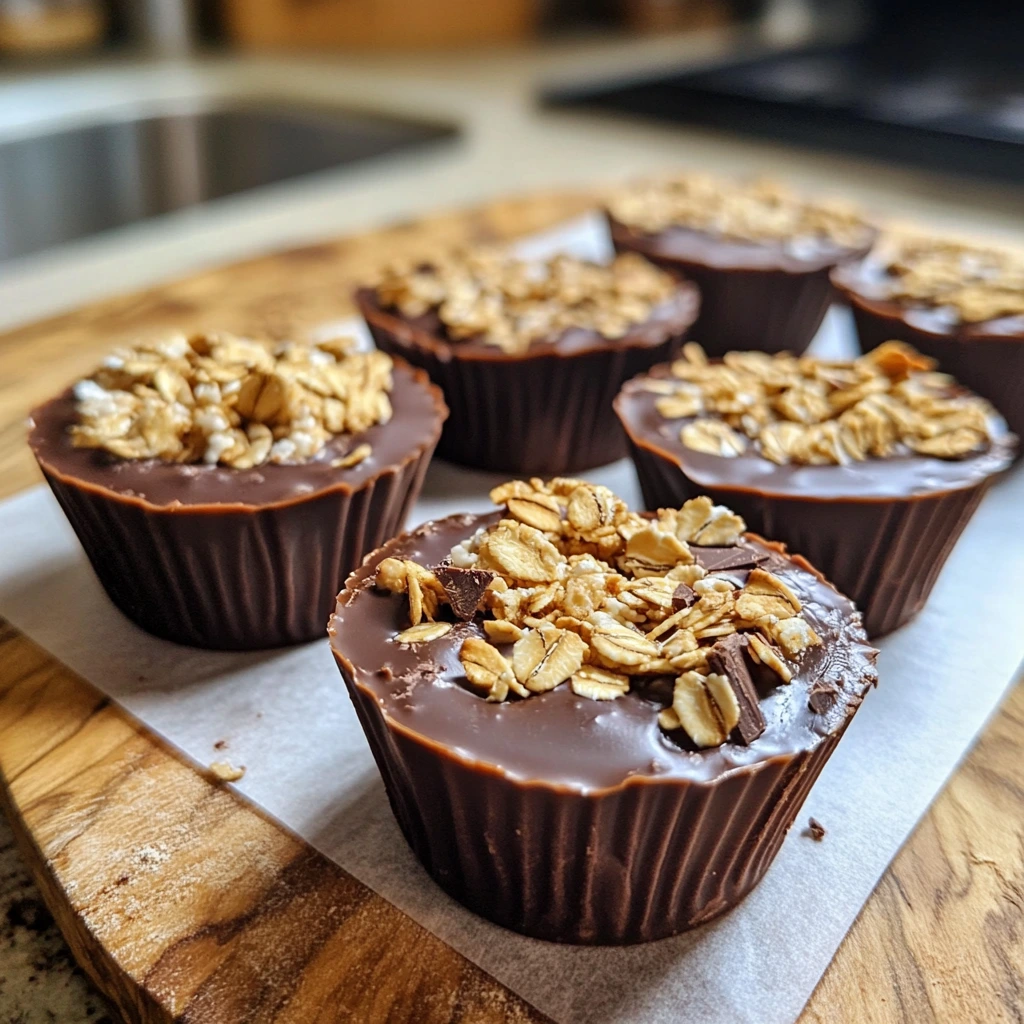
I stumbled upon this recipe during one of those late-night kitchen raids when I was craving something chocolatey but didn’t want to blow my healthy eating streak. What started as desperately mixing random ingredients together became my most-requested treat at every gathering. The secret? That perfect crunch on top that makes each bite feel like you’re indulging in gourmet dessert instead of eating health food.
Why You’ll Love This Recipe
Portion Control Magic: Individual cups mean no temptation to cut “just one more slice” from a pan
Protein-Packed Satisfaction: Greek yogurt and peanut butter deliver lasting fullness that keeps cravings at bay
Five-Minute Assembly: Mix, scoop, chill—your fridge does all the hard work while you relax
Kid-Friendly Deception: Tastes like chocolate pudding cups but secretly fuels growing bodies with real nutrition
Meal Prep Champion: Make a dozen on Sunday, grab one whenever you need a quick energy boost
Dinner Party Impressive: Pop them out of molds and suddenly you look like a professional pastry chef
Ingredients Needed
- ½ cup peanut butter (natural or regular, your choice)
- ½ cup Greek yogurt (plain, full-fat works best)
- 2 tablespoons honey or maple syrup
- 1 teaspoon vanilla extract
- 2 tablespoons cocoa powder (unsweetened)
- ¼ cup mini dark chocolate chips
- 2 tablespoons crushed granola or nuts (for that essential crunch)
Ingredient Notes
The dark chocolate chips make all the difference here—they’re less sweet than milk chocolate chips, letting the rich cocoa and nutty peanut butter flavors really shine through. For the crunch topping, I’m obsessed with my favorite granola, but chopped almonds, crushed pretzels, or even toasted coconut flakes create beautiful texture contrast. Just make sure whatever you choose has some serious crunch factor to complement that smooth, creamy base.
How to Make It
Step 1: Create Your Chocolate Base
Whisk together peanut butter, Greek yogurt, honey, vanilla, and cocoa powder until the mixture looks like rich chocolate mousse. No shortcuts here—lumpy cocoa powder will haunt your final product.
Pro Tip: Sift your cocoa powder first if it’s been sitting in the pantry for a while. Nobody wants chalky bits disrupting that silky texture.
Step 2: Add the Chocolate Magic
Gently fold in mini dark chocolate chips, distributing them evenly throughout the mixture. Don’t overmix or you’ll break them into sad little pieces.
Pro Tip: Pop your chocolate chips in the freezer for 10 minutes before folding them in—they’ll stay intact and won’t melt from the mixing process.
Step 3: Portion and Top
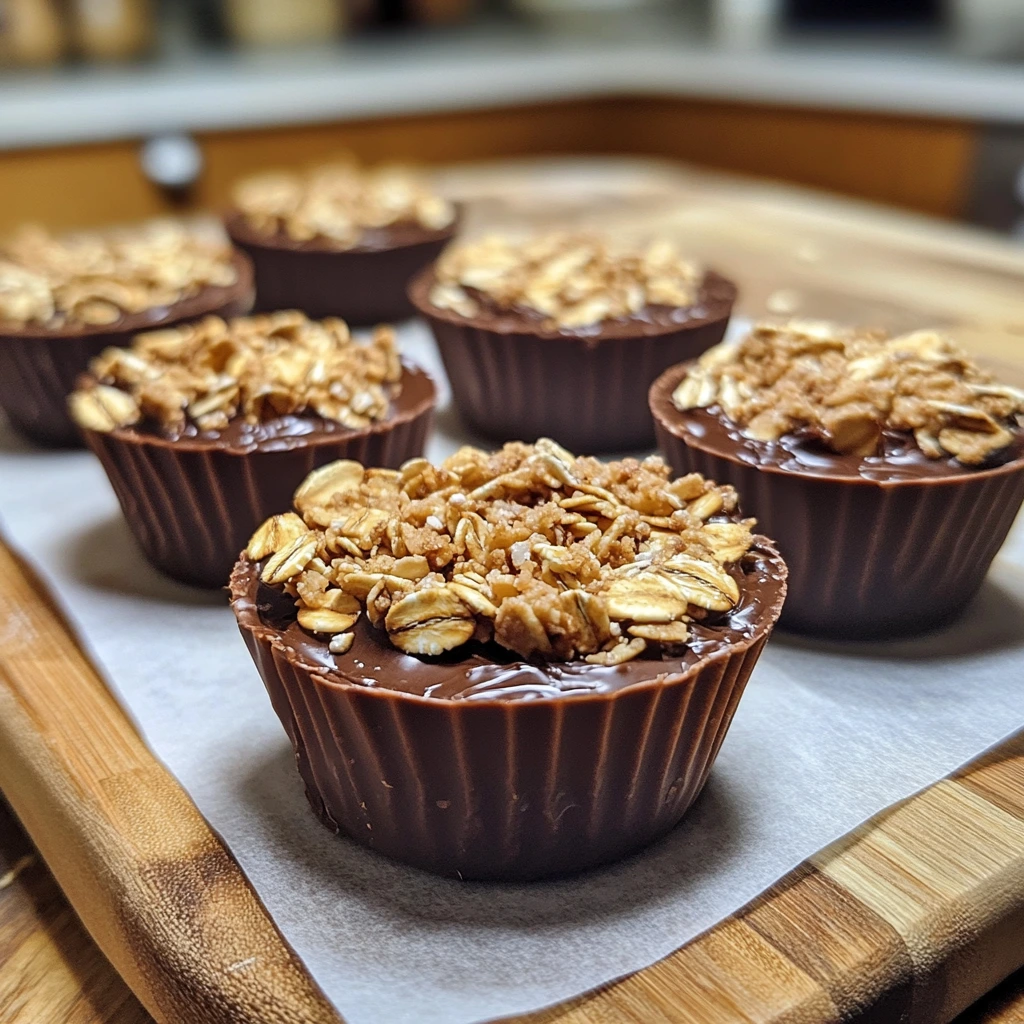
Spoon the mixture into silicone muffin cups or paper liners, filling each about ¾ full. Sprinkle crushed granola or nuts generously on top, then press gently so they actually stick to the surface.
Pro Tip: Use a small ice cream scoop for perfectly uniform portions every single time. Your OCD will thank you.
Step 4: Set and Serve
Refrigerate for at least 2 hours until completely firm and set. Pop them out of the molds and serve chilled—they’re like little chocolate pudding cups that happen to be incredibly good for you.
Pro Tip: If you’re using regular muffin tins instead of silicone, run a thin knife around the edges to help with clean removal.

Nutritional Information
Each cup (recipe makes 8 generous cups) contains approximately:
- Calories: 115
- Protein: 5g
- Healthy Fats: 6g
- Carbohydrates: 10g
- Fiber: 2g
- Sugar: 8g (mostly from natural sources)
Key Ingredients Breakdown + Health Benefits
Peanut Butter delivers heart-healthy monounsaturated fats and plant-based protein that helps stabilize blood sugar levels and keeps you satisfied for hours. I love how it creates that rich, nutty undertone that makes these cups feel genuinely indulgent. The natural oils also help achieve that perfect mousse-like texture without needing any artificial thickeners.
Dark Chocolate Chips provide powerful antioxidants called flavonoids that support heart health and brain function. Using mini chips instead of regular-sized ones means you get chocolate in every single bite without overwhelming sweetness. The bitter notes perfectly balance the creamy peanut butter base.
Greek Yogurt transforms these from a simple snack into a legitimate protein powerhouse. The natural tanginess cuts through all that richness beautifully, while the probiotics support digestive health. It’s what makes these cups feel light and airy instead of heavy and dense like many chocolate desserts.
Cocoa Powder adds deep, intense chocolate flavor without extra sugar or fat, plus it’s absolutely loaded with antioxidants and essential minerals like iron and magnesium. I always use unsweetened because the honey provides just enough sweetness to balance the natural bitterness without making things cloying.
Why This Recipe Works
The magic happens when you whisk everything together—Greek yogurt lightens the dense peanut butter while the cocoa powder creates that rich chocolate base that tastes way more decadent than it actually is. The honey binds everything together and adds just enough sweetness without making the final result too sugary.
The individual cup format is pure genius because it naturally controls portions while creating that special “I’m having dessert” feeling. As they chill in the fridge, all the flavors meld together beautifully and the texture becomes perfectly spoonably creamy—like a cross between chocolate pudding and peanut butter mousse. The crunchy topping adds essential textural contrast that makes each bite more interesting than the last.
Is This Recipe Right for You?
These cups are perfect for chocolate lovers who want to satisfy serious cravings without completely derailing their healthy eating goals. They work beautifully for meal preppers, busy parents needing nutritious snacks that kids actually want to eat, or anyone who wants portion-controlled treats that provide real nutrition instead of empty calories. They’re substantial enough to curb afternoon hunger pangs but light enough for a guilt-free evening dessert.
Who Should Avoid It?
Skip these if you have peanut or tree nut allergies (obviously), or if you’re strictly avoiding dairy since Greek yogurt is absolutely central to the recipe. Those following very strict low-carb diets might want to pass due to the honey content, though you could experiment with sugar-free alternatives.
Customization Ideas
- Nut Butter Adventures: Try almond butter, cashew butter, or sunflower seed butter for completely different flavor profiles
- Fruit Additions: Fold in freeze-dried raspberries, chopped strawberries, or dried cranberries for fruity bursts
- Spice It Up: Add ground cinnamon, instant espresso powder, or a tiny pinch of cayenne for complexity
- Protein Boost: Mix in a scoop of chocolate protein powder (add extra yogurt if the mixture gets too thick)
- Tropical Twist: Use coconut flakes for topping and add fresh lime zest to the chocolate base
- Mint Lovers: Add a few drops of peppermint extract and top with crushed chocolate sandwich cookies
Kitchen Tools You’ll Need
You don’t need any fancy equipment—just a mixing bowl, whisk, measuring cups, and silicone muffin cups or paper liners. I strongly prefer silicone because the cups pop out so easily and look more professional when you serve them, but paper liners work perfectly fine too. A small spoon or ice cream scoop helps with clean portioning, and that’s literally everything you need.
Pro Tips & Common Mistakes
Don’t even think about skipping the chilling time—I know it’s incredibly tempting to try one after just 30 minutes, but they absolutely need at least 2 hours to set properly. Trust me, I’ve made this mistake and ended up with chocolate soup instead of elegant cups.
Whisk thoroughly and patiently to avoid any cocoa powder clumps. If your mixture looks streaky or has dark spots, keep whisking until it’s completely smooth and uniform in color.
Use room temperature ingredients for much easier mixing. Cold, thick peanut butter is stubborn and won’t blend well with the yogurt, leaving you with lumpy, uneven texture instead of silky smoothness.
Press the topping gently but firmly so it actually adheres to the surface. You want satisfying crunch in every bite, not toppings that fall off when you pop them out of the molds.
Size your portions consistently using a small scoop or measuring spoon. Uneven cups will set at different rates, and some might be perfectly firm while others are still soft and jiggly.
Serving Suggestions
These cups are absolutely perfect straight from the fridge as an afternoon pick-me-up or light dessert after dinner. I love serving them at dinner parties because they look so elegant and sophisticated when popped out of their molds—guests always assume they’re way more complicated than they actually are.
For a fun breakfast twist, try crumbling one over a bowl of Greek yogurt with fresh berries. They’re also fantastic frozen for a summer treat that’s like healthy ice cream cups. Pack them in lunch boxes for kids or bring them to work for a 3 PM energy boost that won’t leave you crashing an hour later.
Reader Success Stories
“I made these for my book club last month and everyone immediately demanded the recipe. Three different people texted me the very next day asking for the exact measurements because they were already planning to make them again for their families!” – Amanda R.
“My teenage son, who usually demolishes entire sleeves of store-bought cookies, was completely satisfied with just one of these cups. The protein keeps him full in a way that regular desserts never do. This is a total mom win!” – Lisa K.
“I meal prep these every single Sunday and grab one whenever I’m craving something sweet and satisfying. They’ve completely replaced my afternoon vending machine habit, and I feel so much better throughout the day. Plus, my coworkers are constantly jealous of my fancy-looking snacks.” – David M.
Storing & Freezing Guide
Keep them covered in the refrigerator for up to one week—they actually get even better after the first day as all the flavors develop and meld together. For longer storage, wrap individual cups in plastic wrap and freeze for up to two months.
They thaw beautifully at room temperature in about 15 minutes, or you can eat them straight from the freezer for a firmer, almost ice cream-like texture. I actually prefer them partially frozen on really hot summer days. Just don’t leave them sitting at room temperature for too long or they’ll get soft and lose that perfect creamy consistency.
FAQs
Q: Can I use regular muffin tins instead of silicone cups? A: Absolutely! Just make sure to line them with paper liners or spray with cooking oil first. Silicone definitely makes removal much easier, but regular tins work perfectly fine with proper preparation.
Q: My mixture seems way too thick—what went wrong? A: Your peanut butter was probably too cold or naturally thick. Try microwaving it for 15-20 seconds to soften it up, then remix everything. You can also add an extra tablespoon of Greek yogurt if needed.
Q: Can I make these completely dairy-free? A: Yes! Use coconut yogurt instead of Greek yogurt. The texture will be slightly different but still absolutely delicious. Just make sure to choose unsweetened coconut yogurt to avoid making them too sweet.
Q: How do I know when they’re properly set and ready to serve? A: They should feel completely firm to the touch and hold their shape perfectly when you gently press the surface. If they’re still jiggly or leave an indent, give them another hour in the fridge.
Final Thoughts
These little cups have become my absolute go-to solution for chocolate cravings that don’t want to completely derail my healthy eating efforts. There’s something so incredibly satisfying about having your own personal dessert cup that looks fancy and sophisticated but takes literally minutes to make.
The best part? They prove once and for all that healthy food doesn’t have to be boring, bland, or taste like cardboard punishment. Sometimes the simplest ingredient combinations create the most satisfying and delicious results. I’d love to hear what creative toppings you experiment with—drop a comment and share your favorite crunch combinations with me!

