Introduction
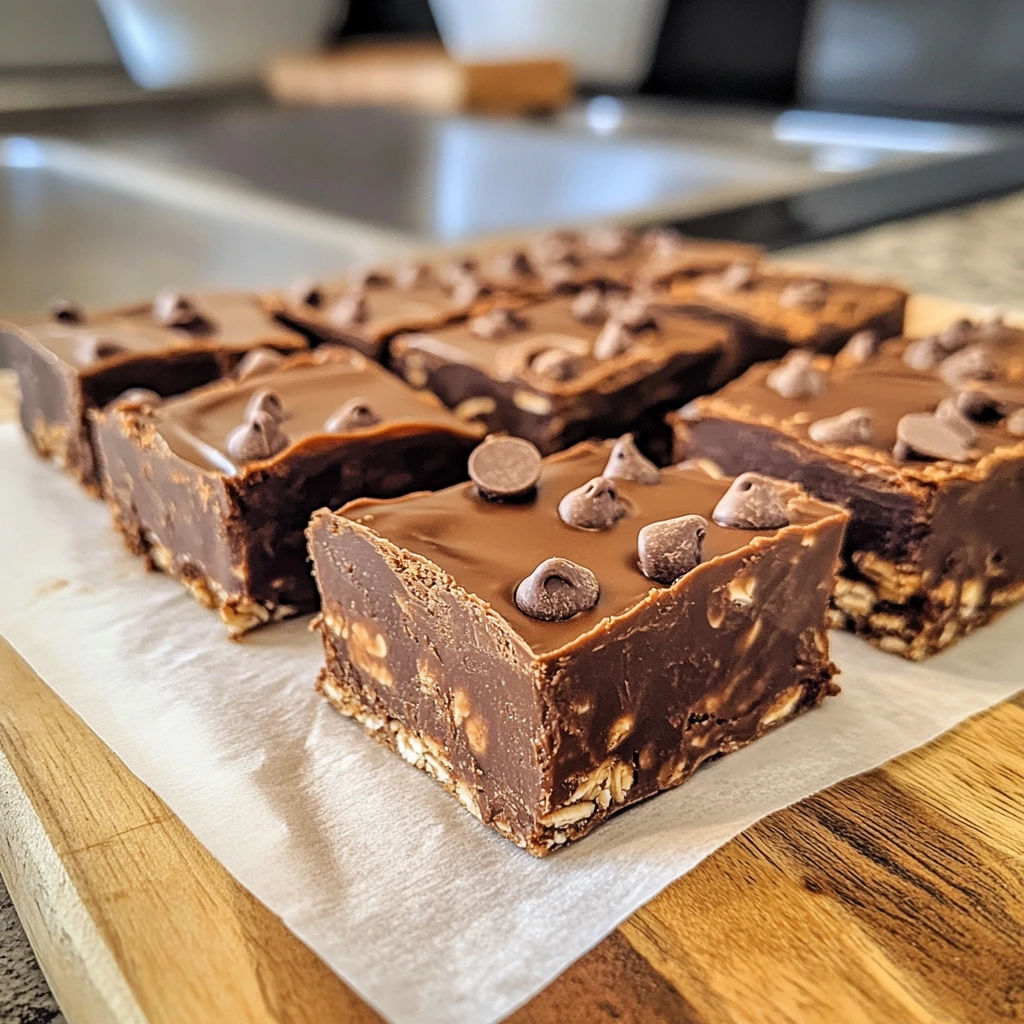
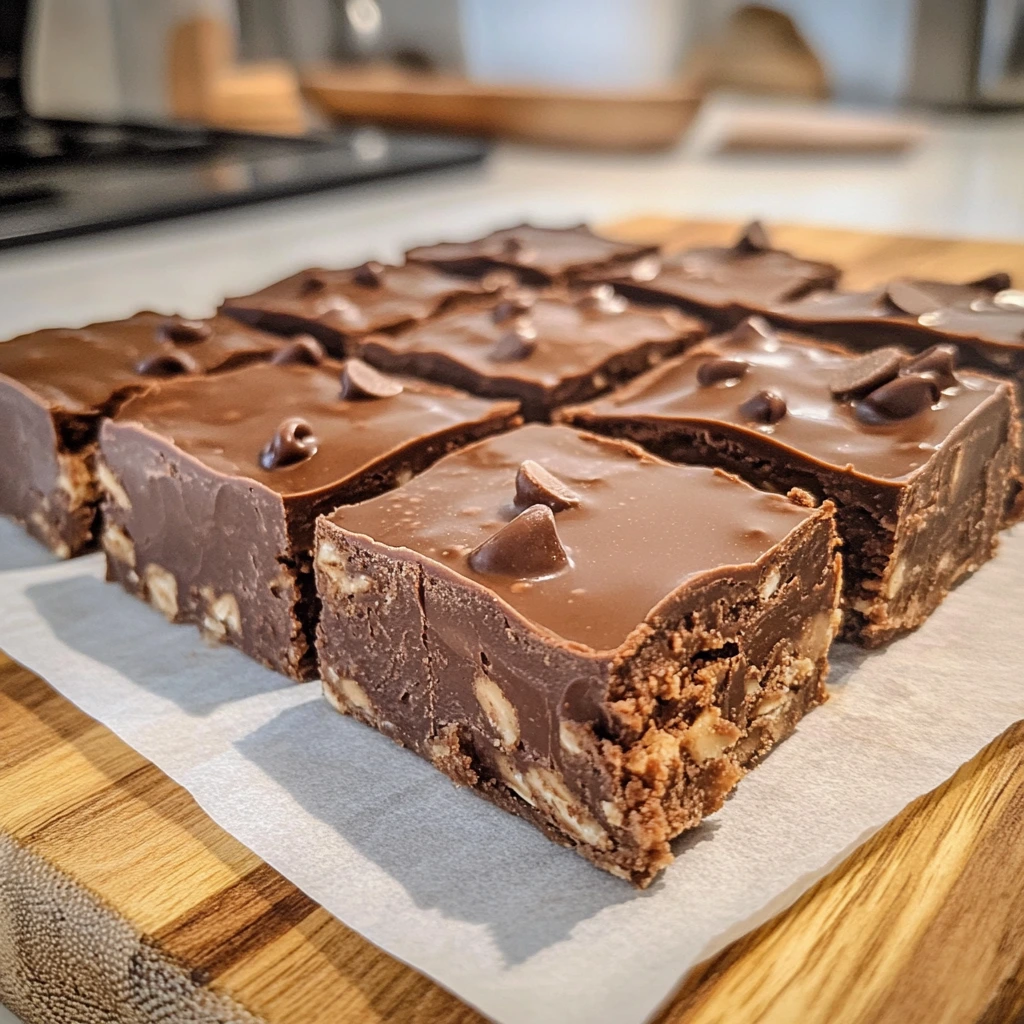
I used to spend a fortune on those fancy protein bars at the gym until I realized they’re basically candy bars with a health halo. After one too many $4 bars that tasted like cardboard, I decided to crack the code myself. The game-changer? Adding Greek yogurt to create the most incredible chewy-fudgy texture that puts store-bought bars to shame—and costs about 50 cents each to make.
Why You’ll Love This Recipe
Post-Workout Powerhouse: 12g of protein per bar to fuel muscle recovery and keep you satisfied
No Artificial Junk: Real ingredients you can actually pronounce, unlike those mysterious store-bought bars
Budget-Friendly: Make 16 bars for less than what you’d pay for 4 at the store
Meal Prep Hero: Batch-make on Sunday, grab-and-go fuel for the entire week
Kid-Approved Energy: Tastes like brownies but fuels growing bodies with real nutrition
Customizable Base: One recipe, endless flavor combinations to keep things interesting
Ingredients Needed
- ½ cup Greek yogurt (plain, full-fat preferred)
- ½ cup peanut butter (natural or regular)
- 2 tablespoons honey or maple syrup
- 1 teaspoon vanilla extract
- 1 cup rolled oats (old-fashioned, not quick-cooking)
- ¼ cup chocolate protein powder
- ¼ cup cocoa powder (unsweetened)
- ¼ cup mini chocolate chips
Ingredient Notes
The protein powder is what transforms these from snack bars into legitimate meal replacements. I prefer chocolate whey protein, but vanilla works too if you want less intense chocolate flavor. For peanut butter, natural varieties work best since they’re less sweet and won’t compete with the honey. If your oats are the quick-cooking type, they’ll work but won’t give you that satisfying chewy texture I’m obsessed with.
How to Make It
Step 1: Build Your Protein Base
Stir together Greek yogurt, peanut butter, honey, vanilla, protein powder, and cocoa powder until the mixture is completely smooth and creamy. This is your foundation—no lumps allowed.
Pro Tip: Add the protein powder gradually to avoid clumping. If it gets too thick, add a tablespoon of yogurt to loosen it up.
Step 2: Add the Oats
Mix in rolled oats until they’re fully coated and the mixture looks uniform. The oats should absorb some moisture and the whole thing should feel substantial but not dry.
Pro Tip: Let the mixture sit for 5 minutes after adding oats—they’ll soften slightly and make pressing easier.
Step 3: Fold in the Good Stuff
Gently fold in chocolate chips, making sure they’re evenly distributed throughout. Don’t overmix or you’ll break them up and lose those little bursts of chocolate.
Pro Tip: Toss chocolate chips in a tiny bit of cocoa powder first—it helps them stick in the mixture instead of sinking to the bottom.
Step 4: Press and Set
Press the mixture firmly into a parchment-lined 8×8 inch pan. Use real pressure here—compact bars hold together, loose ones crumble. Chill for at least 2 hours until completely set, then cut into bars.
Pro Tip: Score the surface with a knife before chilling to make cutting easier later. Nobody wants to wrestle with a knife and hard bars.

Nutritional Information
Each bar (makes 16 bars) contains approximately:
- Calories: 125
- Protein: 12g
- Healthy Fats: 5g
- Carbohydrates: 11g
- Fiber: 2g
- Sugar: 7g (mostly natural)
Key Ingredients Breakdown + Health Benefits
Chocolate Protein Powder is the star here, providing complete amino acids for muscle recovery and repair. Unlike many protein bars that use cheap protein sources, this recipe lets you choose quality powder you trust. The chocolate flavor makes these bars taste indulgent while delivering serious nutritional value.
Greek Yogurt creates that perfect chewy-fudgy texture that expensive bars try to replicate with weird additives. Beyond texture, it adds probiotics for gut health and extra protein to make these bars truly satisfying. I discovered this trick when trying to replace the corn syrup found in most commercial bars.
Rolled Oats provide sustained energy through complex carbohydrates and beta-glucan fiber that helps regulate blood sugar. They also add that essential chewy texture that makes these bars feel substantial rather than chalky like so many protein bars.
Peanut Butter brings healthy fats and additional protein while creating rich, nutty flavor that pairs beautifully with chocolate. The natural oils help bind everything together and add satisfying richness that keeps you full between meals.
Why This Recipe Works
The combination of Greek yogurt and peanut butter creates an incredibly creamy base that binds all the dry ingredients without needing artificial stabilizers or weird chemicals. The protein powder adds structure while boosting nutritional value, and the cocoa powder provides deep chocolate flavor without extra sugar.
As these bars chill, the oats absorb moisture from the yogurt, creating that perfect chewy texture that’s not too soft or too firm. The chocolate chips stay intact, giving you those little moments of sweetness that make eating healthy feel like a treat. It’s basically the formula that expensive protein bar companies use, but with real ingredients you control.
Is This Recipe Right for You?
Perfect for fitness enthusiasts who want quality post-workout nutrition, busy professionals needing portable meals, or parents looking for nutritious snacks that kids actually want to eat. These bars provide sustained energy without sugar crashes, making them ideal for anyone trying to maintain steady energy levels throughout the day.
Who Should Avoid It?
Skip these if you have peanut allergies or are avoiding dairy. Those with very sensitive stomachs might want to start with half a bar since the protein powder can be rich for some people. If you’re on strict keto, the oats and honey will be too high in carbs.
Customization Ideas
- Nut Butter Swaps: Try almond butter, cashew butter, or sunflower seed butter for different flavors
- Protein Powder Variations: Vanilla, strawberry, or unflavored protein powder all work beautifully
- Add-In Options: Dried fruit, nuts, seeds, coconut flakes, or different chocolate chips
- Spice Additions: Cinnamon, espresso powder, or vanilla extract for depth
- Superfood Boost: Chia seeds, hemp hearts, or flax meal for extra nutrition
- Flavor Themes: Coconut and lime zest for tropical, or orange zest for chocolate-orange bars
Kitchen Tools You’ll Need
Just basic kitchen essentials: a mixing bowl, spatula, measuring cups, and an 8×8 pan. Parchment paper makes removal foolproof, and a sharp knife helps with clean cuts. I like using a bench scraper for perfectly straight edges, but a regular knife works fine. No special equipment or complicated techniques required.
Pro Tips & Common Mistakes
Don’t skip the chilling time—I know you want to try them right away, but 2 hours minimum is crucial for proper texture. I’ve tried cutting them early and ended up with sticky, crumbly messes instead of clean bars.
Press firmly when shaping. Use the bottom of a measuring cup or your hands to really compact the mixture. Loose packing equals bars that fall apart when you try to eat them.
Measure protein powder correctly—scoop and level, don’t pack it down. Too much protein powder makes the bars dry and chalky, while too little won’t give you the structure you need.
Room temperature ingredients blend easier. Cold peanut butter is stubborn and won’t mix smoothly with the yogurt, leaving you with streaky texture instead of creamy consistency.
Score before chilling to make cutting easier. Once these bars are fully set, they’re firm and can be tough to cut cleanly without pre-marking.
Serving Suggestions
These bars are perfect as post-workout fuel within 30 minutes of exercise, when your muscles are primed for protein absorption. They’re also fantastic as breakfast on busy mornings—grab one with coffee and you’re set until lunch.
I love packing them for hiking or long car trips since they don’t melt or get messy like many protein bars. They’re substantial enough to replace a meal when you’re in a pinch, but light enough for an afternoon snack when you need sustained energy without feeling overly full.
Reader Success Stories
“I’ve been making these every Sunday for three months now and my gym buddies are constantly asking what brand they are. When I tell them I made them myself, they can’t believe something homemade could taste this good!” – Marcus T.
“My kids used to beg for those expensive granola bars at the store. Now they request ‘mommy’s chocolate bars’ and I feel so much better knowing exactly what they’re eating. Plus, I’m saving about $20 a week!” – Rachel P.
“As someone who travels constantly for work, these have been a game-changer. I pack a few in my carry-on and never have to resort to airport food again. They keep me satisfied and energized through long flights and meetings.” – Jennifer L.
Storing & Freezing Guide
Store wrapped individually or in a covered container in the refrigerator for up to 10 days. They actually improve after the first day as flavors meld together. For longer storage, wrap bars individually in plastic wrap and freeze for up to three months.
They thaw perfectly at room temperature in 10-15 minutes, or you can eat them straight from the freezer for a firmer, almost ice cream bar-like texture. I actually prefer them slightly frozen on hot summer days. Don’t leave them at room temperature too long though—they can get soft and sticky.
FAQs
Q: Can I use a different protein powder flavor? A: Absolutely! Vanilla protein powder works great and gives you more flexibility with add-ins. Unflavored protein powder works too but you might want to add extra cocoa powder for chocolate flavor.
Q: My bars are too crumbly—what went wrong? A: Usually this means the mixture was too dry or wasn’t pressed firmly enough. Try adding an extra tablespoon of yogurt next time, and really compact that mixture in the pan.
Q: Can I make these without protein powder? A: You can, but you’ll lose the high protein content that makes these bars special. Try substituting with additional oats or almond flour, but the texture and nutrition will be different.
Q: How do I know when they’re set enough to cut? A: They should feel firm to the touch and not leave an indent when you press gently. If they’re still soft or sticky, give them another hour in the fridge.
Final Thoughts
Making your own protein bars feels like such a win—you control the ingredients, save money, and end up with something that actually tastes good. These bars prove that healthy food doesn’t have to be expensive, complicated, or taste like punishment.
I love knowing exactly what’s fueling my body, and there’s something so satisfying about having a batch of these ready in the fridge when hunger strikes. Whether you’re feeding athletes, busy families, or just yourself, these bars deliver on both nutrition and flavor. Let me know what variations you try—I’m always looking for new flavor combinations to test!

