Introduction
I almost didn’t share this recipe because I was convinced nobody would believe how ridiculously good these taste. Honestly, when I first told my sister I was putting Greek yogurt in cookie dough, she looked at me like I’d completely lost my mind. But here’s the thing—that “weird” ingredient is exactly what creates the most incredible soft, chewy texture that’ll have you questioning everything you thought you knew about healthy treats. Let me show you how to get that perfect melt-in-your-mouth center that tastes like childhood but makes you feel like a responsible adult.
Why You’ll Love This Recipe
No-Bake Wonder: Skip the oven entirely—perfect for summer days or when you’re craving cookies NOW
Protein-Packed Indulgence: Each sandwich delivers a sneaky protein boost without sacrificing flavor
Five-Minute Magic: From craving to cookie sandwich in under 30 minutes (including chill time)
Pantry-Friendly: Uses simple ingredients you probably already have stashed away
Guilt-Free Satisfaction: Tastes like dessert, fuels like a snack—win-win situation
Kid-Approved Healthy: My nephew called them “the good kind of grown-up cookies”
Ingredients Needed
For the Cookies:
- ½ cup creamy peanut butter
- ⅓ cup Greek yogurt
- 2 tablespoons maple syrup or honey
- 1 teaspoon vanilla extract
- 1¼ cups oat flour
- A pinch of salt
For the Filling:
- ¼ cup Greek yogurt
- 2 tablespoons peanut butter
- 1 tablespoon honey
Ingredient Notes
Trust me on the peanut butter choice—creamy works best here. I tried crunchy once and the texture got weird with all the oat flour. The chunks just didn’t play nicely with the soft cookie texture I was going for. For the Greek yogurt, go full-fat if you can; it makes the cookies richer and more satisfying. I learned this the hard way after making a batch with fat-free yogurt that tasted like cardboard. Can’t find oat flour? Just toss rolled oats in a blender until powdery. Honestly, homemade oat flour tastes better anyway—it’s fresher and you can control the texture perfectly.
How to Make It
Step 1: Create the Base
Mix peanut butter, yogurt, sweetener, and vanilla until completely smooth. This is where the magic happens—the yogurt transforms the peanut butter into something incredibly creamy.
Pro Tip: Let your peanut butter come to room temperature first. Cold peanut butter fights the mixing process and creates lumps nobody wants.
Step 2: Form the Dough
Add oat flour and salt, stirring until a soft, slightly sticky dough forms. Don’t overmix—we want tender cookies, not tough ones.
Pro Tip: The dough should hold together when squeezed but not be so wet it won’t hold its shape.
Step 3: Shape and Chill
Roll into small balls (about 1 tablespoon each), flatten gently with your palm, and chill in the fridge for 15 minutes. They’ll firm up beautifully.
Pro Tip: Line your tray with parchment paper—future you will thank present you when cleanup time comes.
Step 4: Make the Filling and Assemble
Whisk filling ingredients until smooth and creamy. Spread a generous spoonful between two cookies to create sandwiches, then chill again until set.
Pro Tip: Don’t skimp on the filling—it’s what makes these special. I learned this the hard way with sad, dry sandwich attempts.
Nutritional Information
Each sandwich cookie contains approximately:
- Calories: 145
- Protein: 6g
- Fat: 8g
- Carbs: 14g
- Sugar: 7g
- Fiber: 2g
These numbers make me feel so much better about my afternoon cookie habit.

Key Ingredients Breakdown + Health Benefits
Peanut Butter brings healthy fats, protein, and that nostalgic flavor we all crave. I use natural peanut butter because it doesn’t have added oils that can make the texture strange. Plus, it just tastes more like actual peanuts.
Greek Yogurt is the real MVP here—it adds protein, creates incredible moisture, and gives these cookies their signature soft texture. I was skeptical at first, but now I can’t imagine making them without it.
Oat Flour provides fiber and a subtle nutty flavor that complements the peanut butter perfectly. It’s also naturally gluten-free, which makes these cookies accessible to more people. I love that it doesn’t taste “healthy” if you know what I mean.
Maple Syrup adds natural sweetness without the refined sugar crash. Honey works too, but maple syrup gives a deeper, more complex flavor that I’m obsessed with.
Why This Recipe Works
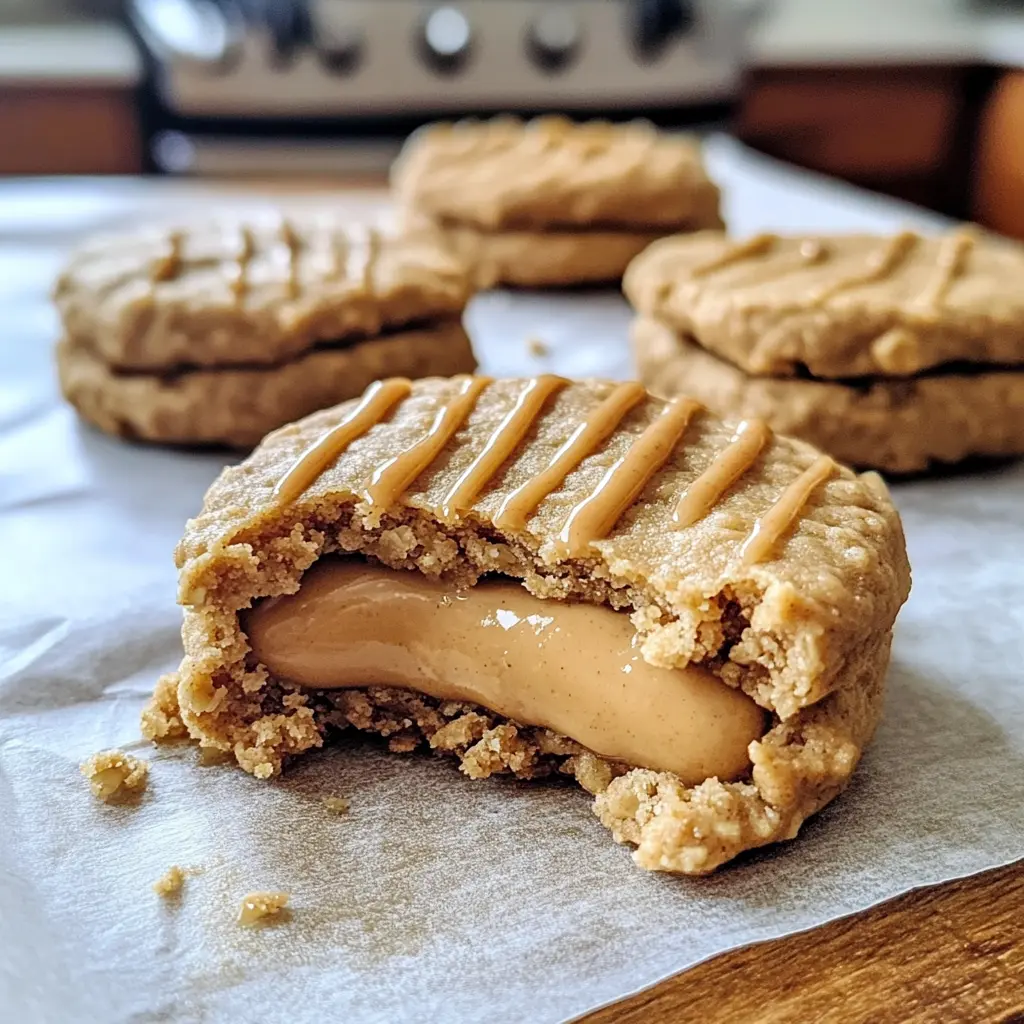
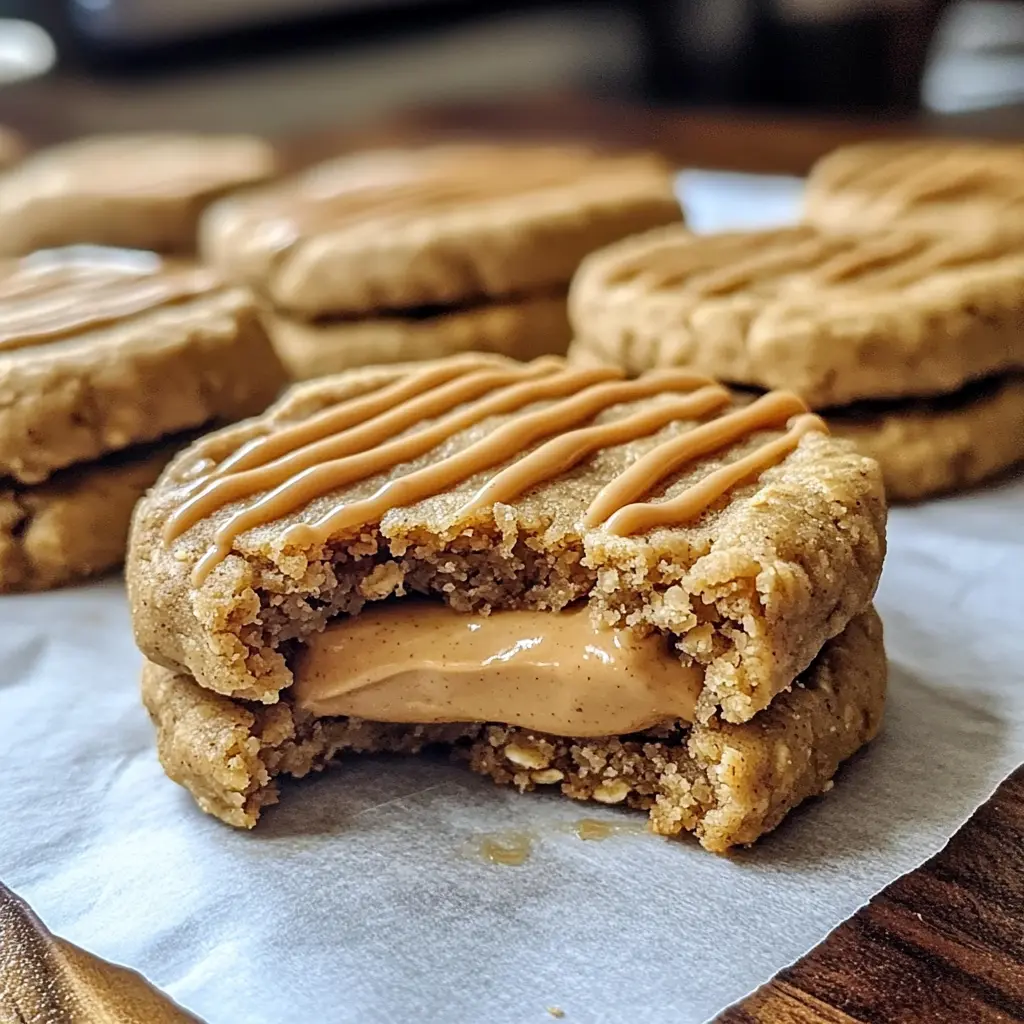
The combination of peanut butter and Greek yogurt creates this incredible binding effect that holds everything together without eggs or butter. The oat flour absorbs just enough moisture to create structure while staying tender. The chilling process is crucial—it firms up the proteins and allows the flavors to meld together beautifully. What really makes these special is the contrast between the soft, chewy cookie and the creamy, slightly tangy filling. It’s like eating a peanut butter cloud sandwich.
Is This Recipe Right for You?
If you’re someone who wants dessert but doesn’t want to derail your healthy eating goals, this is your recipe. Perfect for busy parents who need quick snacks, fitness enthusiasts looking for protein-packed treats, or anyone who appreciates simple ingredients that deliver maximum flavor. These satisfy sweet cravings without the sugar crash that leaves you hunting for more food an hour later.
Who Should Avoid It?
Skip this if you have peanut allergies (obviously) or if you’re avoiding dairy. While the dairy content is minimal, it’s still there in the Greek yogurt.
Customization Ideas
- Nut Butter Swaps: Try almond butter, cashew butter, or sunflower seed butter for variety
- Chocolate Lovers: Add 1 tablespoon cocoa powder to the cookie dough
- Fruit Twist: Fold in dried cranberries or mini chocolate chips
- Spice It Up: A pinch of cinnamon or cardamom adds warmth
- Protein Boost: Add a scoop of vanilla protein powder (reduce oat flour slightly)
- Coconut Version: Replace Greek yogurt with thick coconut cream for dairy-free option
Kitchen Tools You’ll Need
You don’t need fancy equipment for this recipe. A medium mixing bowl, rubber spatula, measuring cups, and a baking sheet lined with parchment paper will do the trick. A small cookie scoop makes portioning easier, but your hands work just fine. The most important tool? A refrigerator for chilling—don’t skip this step.
Pro Tips & Common Mistakes
Mistake #1: Not chilling long enough. I know you’re excited, but 15 minutes minimum is crucial for proper texture.
Mistake #2: Making the filling too thin. It should hold its shape when spread—add more peanut butter if it’s too runny.
Mistake #3: Overpacking the dough. Gentle mixing keeps the cookies tender.
Pro Tip: Make extra filling—it’s fantastic as a fruit dip or spread on toast.
Pro Tip: Store assembled sandwiches in the fridge. They actually taste better after sitting overnight when the flavors have time to marry.
Serving Suggestions
These cookies are perfect with a glass of cold milk for dunking—trust me, the creamy filling gets even better when it’s slightly softened. I love serving them at casual gatherings because they look impressive but require zero stress. They’re also fantastic packed in lunchboxes—they won’t get soggy like traditional cookies might, and they actually hold up better than regular cookies during transport. For a fancy presentation, dust with a tiny bit of powdered sugar or drizzle with melted dark chocolate. I’ve also discovered they’re amazing crumbled over vanilla ice cream or folded into homemade trail mix for hiking snacks. My mom likes to serve them alongside fresh berries and a cup of coffee for an elevated afternoon treat.
Reader Success Stories
“I made these for my book club and everyone demanded the recipe! Even my friend who ‘doesn’t like healthy desserts’ asked for seconds.” – Sarah M.
“My kids have been begging for these every week since I first made them. Finally, a treat I feel good about saying yes to!” – Maria K.
“I was skeptical about yogurt in cookies, but these converted me completely. They’re now my go-to for potluck desserts.” – Jennifer R.
Storing & Freezing Guide
Store assembled sandwich cookies in an airtight container in the refrigerator for up to one week. For longer storage, freeze individual cookies (before assembling) for up to three months. Thaw at room temperature for about 10 minutes before adding filling and serving. The filling can be made ahead and stored separately in the fridge for up to five days—just give it a quick stir before using.
FAQs
Can I make these without oat flour? Yes! Blend rolled oats until powdery, or substitute with almond flour (use slightly less as it’s more dense).
Why are my cookies too soft? You might need more oat flour or longer chilling time. The dough should hold together when squeezed.
Can I double the recipe? Absolutely! These freeze beautifully and disappear quickly once word gets out about how good they are.
What if I don’t have Greek yogurt? Regular yogurt works, but drain it first or the cookies will be too wet. The texture won’t be quite as rich, but they’ll still be delicious.
Final Thoughts
These cookies have become my secret weapon for satisfying cravings without the guilt. They prove that healthy treats don’t have to taste like cardboard or require a degree in nutrition science to make. Sometimes the best recipes are the ones that sneak vegetables—or in this case, protein—into something that tastes purely indulgent. I’d love to hear your variations or what your family thinks of them. Drop a comment and let me know how your cookie adventure goes!

