
Introduction
Two spotty bananas were sitting on my counter looking completely hopeless. I mashed them into peanut butter and oats purely out of desperation — no oven, no plan, no real expectations. I wasn’t sure this would work at all, but these healthy no-bake peanut butter banana oat fudge bars came out so thick, creamy, and deeply satisfying that I’ve made them every single week since. The secret layer on top changes everything. Keep scrolling.
Why You’ll Love This Recipe
- That glossy, creamy peanut butter top layer over a chewy, hearty oat base delivers a texture combination that feels genuinely indulgent without a single guilty ingredient.
- There’s no oven involved — you mix, press, freeze, and slice. The whole process takes about 15 minutes of actual hands-on time.
- Ripe banana and a touch of honey sweeten these naturally, so you get real, lasting energy instead of a sharp sugar spike and crash.
- I brought these to a potluck and three people asked for the recipe before they even finished their first bar.
- They’re filling enough to replace a rushed breakfast, satisfying enough for an afternoon snack, and honestly good enough to serve as dessert.
Ingredients Needed
Everything here is clean, whole, and probably already waiting in your kitchen.
- 2 ripe bananas, mashed
- ½ cup natural peanut butter (base layer)
- 1½ cups rolled oats
- 1 tablespoon honey or maple syrup (optional)
- 1 teaspoon vanilla extract
- ¼ teaspoon cinnamon
- ¼ teaspoon salt
- For the top layer:
- ½ cup natural peanut butter
- 2 tablespoons honey or maple syrup
- 1 tablespoon coconut oil
- Rolled oats, for garnish
Ingredient Notes
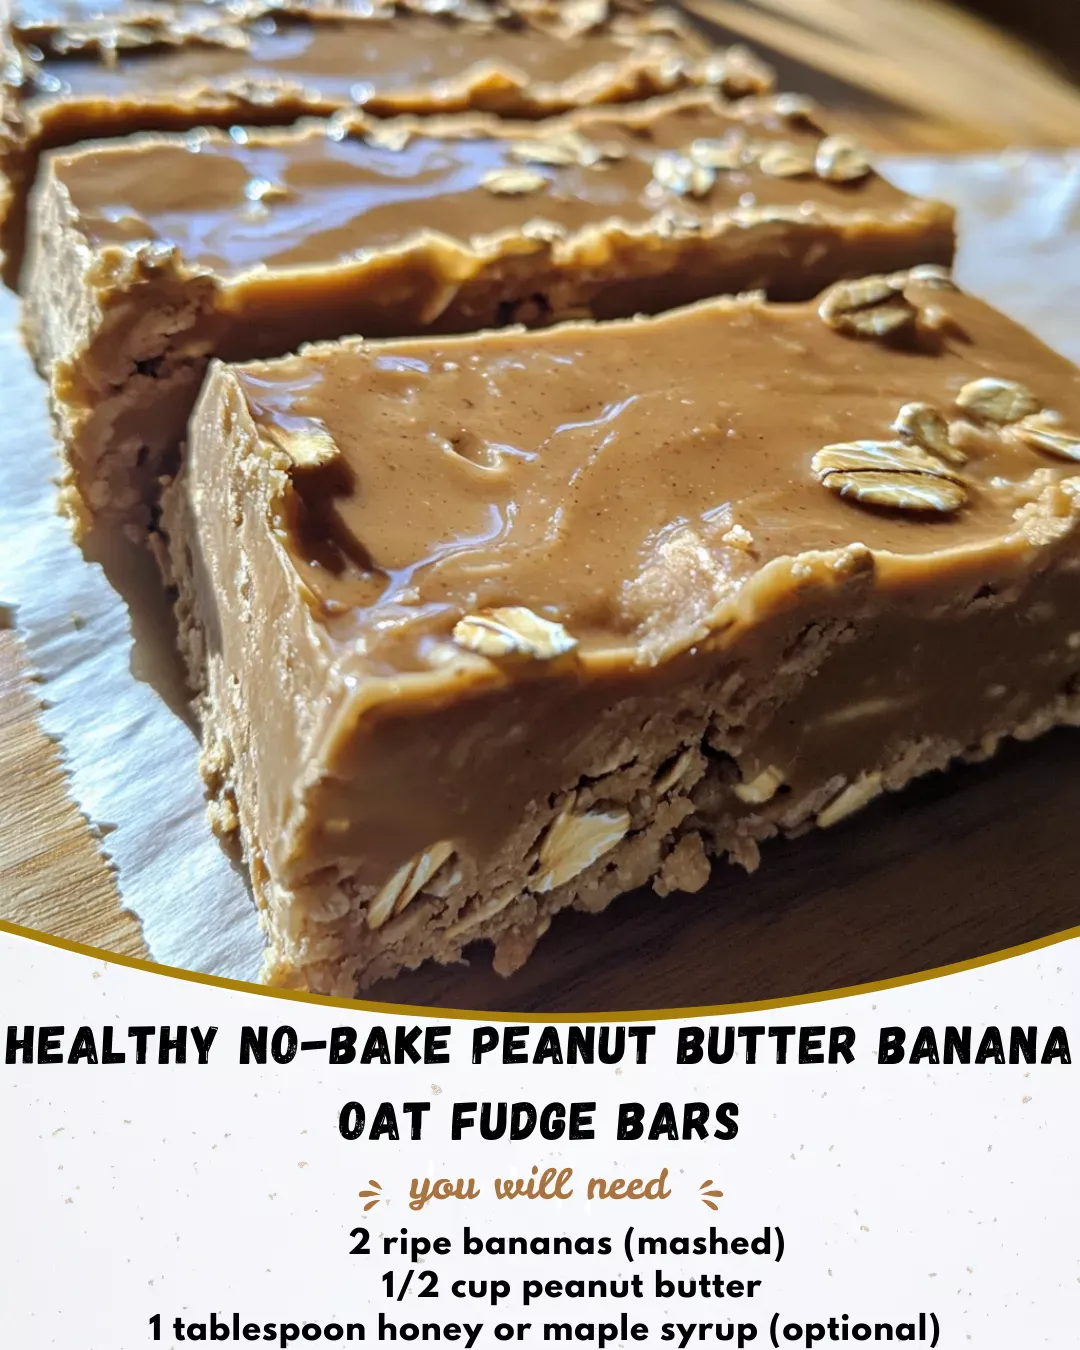
The riper your bananas, the sweeter and more flavorful the base becomes — black-spotted bananas are genuinely ideal here. Use a runny natural peanut butter for both layers so everything blends and pours smoothly. Stiff peanut butter makes the top layer thick and uneven instead of that gorgeous glossy finish you see in the photo. Coconut oil in the topping helps it set firmly in the freezer and slice cleanly without cracking.
How to Make It
Step 1: Mash the Bananas Until Completely Smooth
In a large bowl, mash both bananas thoroughly until no lumps remain. The smoother your banana base, the more cohesive and fudgy your finished bar layer will be. I use a fork first and then a whisk to get every last chunk out.
Step 2: Mix the Oat Base Together
Add the peanut butter, honey, vanilla, cinnamon, and salt to the mashed banana. Stir until everything comes together into a thick, sticky, cohesive mixture. Pro tip: if the mixture feels too wet and loose, add 2 extra tablespoons of rolled oats to bring it together without changing the flavor.
Step 3: Press the Base Firmly Into the Pan
Line an 8×8 pan with parchment paper and transfer the oat mixture in. Press it down firmly and evenly using the back of a spoon or the flat bottom of a glass. Common mistake: pressing too lightly leaves an uneven base that crumbles when you slice. Really compact it until the surface looks completely flat and dense.
Step 4: Make the Creamy Peanut Butter Top Layer
In a small saucepan over low heat, gently warm the peanut butter, honey, and coconut oil together, stirring constantly until the mixture looks smooth, glossy, and pourable. Don’t overheat it — you want warm and fluid, not bubbling. Pour it slowly and evenly over the pressed oat base, then tilt the pan gently to spread it into the corners.
Step 5: Garnish, Freeze, and Slice
Scatter a small handful of rolled oats over the top while the peanut butter layer is still warm and tacky so they stick. Freeze for at least 2 hours until the top layer feels completely firm to the touch. Then lift the parchment out onto a cutting board and slice into bars with one confident, firm downward cut per slice — sawing back and forth cracks the top layer.
Key Ingredients & Health Benefits
Ripe bananas do double duty here as both the natural sweetener and the binding agent that holds the oat base together without eggs or added fat. Beyond that, they contribute potassium, natural sugars for quick energy, and a subtle, comforting sweetness that makes these bars feel nostalgic in the best possible way.
Natural peanut butter is the star of both layers — the base and the topping — which means its benefits run all the way through every bite. It delivers plant-based protein, heart-healthy monounsaturated fats, and that rich, thick, deeply satisfying flavor that makes these bars genuinely filling rather than just tasty.
Rolled oats give the base its chewy, hearty structure while contributing complex carbohydrates and soluble fiber that slow digestion and keep energy levels steady. They also add a subtle, cozy nuttiness that pairs perfectly with the creamy peanut butter layers above.
Honey or maple syrup adds just enough natural sweetness to balance the mild banana flavor without overwhelming the nutty richness that makes these bars so craveable and energizing.
Customization Ideas
- Stir 2 tablespoons of unsweetened cocoa powder into the top layer for a chocolate peanut butter version that tastes like a healthier Reese’s cup.
- Add ¼ cup of mini chocolate chips into the oat base before pressing for a melty, indulgent surprise in every single bite.
- Swap peanut butter for almond butter or sunflower seed butter to completely change the flavor profile while keeping the same creamy, satisfying texture.
- Mix ¼ cup of shredded coconut into the oat base for a tropical, chewy twist that pairs beautifully with the banana flavor.
- Sprinkle flaky sea salt over the warm peanut butter top before freezing — that salty-sweet contrast is absolutely addictive and makes these bars feel genuinely elevated.
Pro Tips & Common Mistakes
Press the base harder than feels necessary. Let’s be real — a loosely packed base crumbles the moment you try to slice it, and there’s no fixing that after freezing. Use a flat-bottomed glass and press until the mixture compacts visibly and holds its shape when you press a finger into it.
Warm the top layer gently and slowly. I once rushed this step over medium heat and the peanut butter separated into an oily mess that never recovered. Low heat, constant stirring, and patience gives you that beautiful glossy pour every time.
Always cut with one firm downward press, not a sawing motion. The peanut butter top layer cracks and splinters if you drag the knife back and forth. One clean press straight down produces those beautiful, photo-worthy slices with a perfectly intact top.
Storing & Freezing Guide
Store these bars in an airtight container in the refrigerator for up to one week — the top layer stays creamy and firm throughout. Layer bars between sheets of parchment paper so they don’t stick together. For longer storage, wrap each bar individually in plastic wrap and freeze for up to 3 months. Thaw in the refrigerator for 30 minutes or let sit at room temperature for 5 minutes before eating for that perfect, creamy, fudgy texture.
FAQs
Can I use quick oats instead of rolled oats? Yes — quick oats work fine in the base and create a slightly smoother, less chewy texture. However, rolled oats give better structure and that satisfying chew, so use them if you have the choice. Avoid instant oats, which turn the base mushy after freezing.
Why is my top layer grainy instead of smooth? This usually happens when the peanut butter gets overheated and the oils separate. Keep the heat low and stir constantly. If it does separate, remove from heat, add 1 teaspoon of warm water, and stir vigorously until it comes back together.
Can I make these without banana? You can — replace the mashed banana with ¼ cup of unsweetened applesauce and 1 extra tablespoon of peanut butter. The bars will be less sweet and slightly less firm, but still hold together well after freezing.
Do these need to stay frozen or can I keep them at room temperature? Keep them refrigerated at minimum — the top layer softens at room temperature and loses that firm, glossy finish. The refrigerator keeps the texture perfect. Only pull them out 5 minutes before eating for the best experience.
Final Thoughts
These healthy no-bake peanut butter banana oat fudge bars started as a desperate use for sad bananas and turned into the most requested thing I make all year. That creamy, glossy top over a chewy, satisfying base hits differently every single time I slice into them. Make a batch this weekend, snap that first cross-section photo, and come back to tell me how fast they disappeared. Drop a comment below — I read every single one.